Leave Your Message

Top 10 Ways to Print Barcodes That Scan Reliably

A barcode can look crisp and still fail at checkout. A narrow space may fill with ink. A glossy label can catch overhead light. Even a small mismatch between the symbol and its scanner can cause delays, reprints, and wasted stock.

Barcode pioneer Dr. David Allais’s work offers a useful reminder: a barcode must be designed for dependable decoding, not merely attractive printing. That principle guides this overview of Printing Barcodes. Reliable results begin with the right symbology and suitable label material. They also depend on printer resolution, print darkness, and careful placement. Details matter.

The ten methods ahead turn those choices into practical checks. They cover quiet zones, contrast, sizing, printer settings, and verification with a barcode verifier—not just a quick phone scan. Test a sample on the actual packaging, under the lighting and handling conditions it will face. A glossy pouch behaves differently from a matte carton. Small differences count. No single setting works everywhere, and that is easy to overlook. Treat each print run as something to inspect, not something to assume is correct.
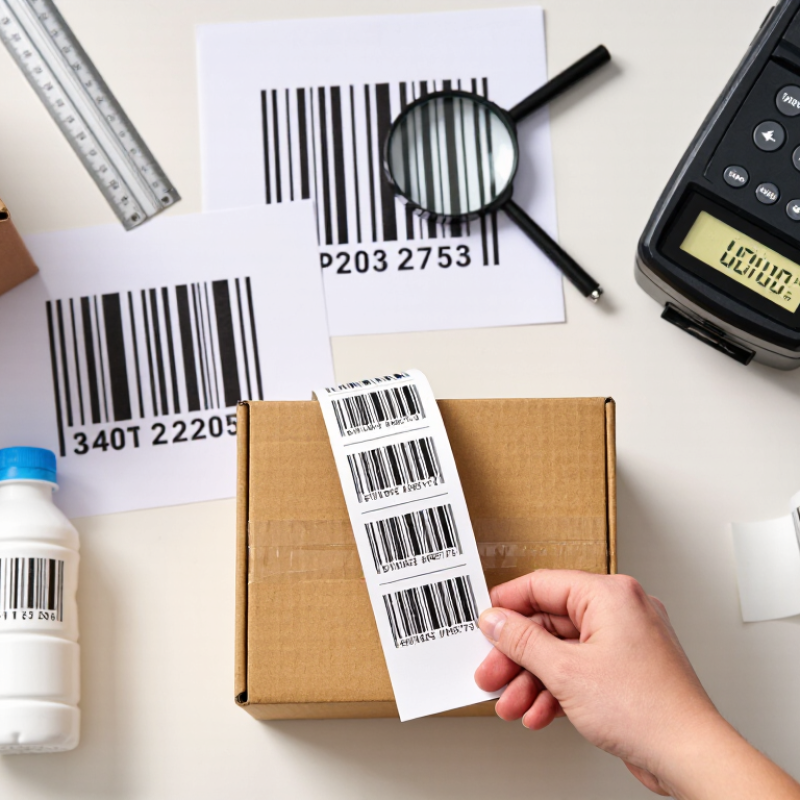
Top 10 Ways to Print Barcodes That Scan Reliably

Choose a Barcode Type and Size Suited to the Scanning Task

Choose the barcode for the scan, not just the label. EAN/UPC symbols suit retail checkout, where scanners read them quickly and consistently. For longer product or shipment data, a 2D symbol may fit more information into a smaller area. But smaller is not automatically better. A compact code can become difficult to print and scan on a curved bottle or a wrinkled carton. Tiny bars can disappear.

Size matters. GS1 General Specifications set an X-dimension range of 0.264–0.660 mm for EAN/UPC symbols used at retail point of sale. That range gives designers room to adapt, but the right size depends on the scanner, print process, and available label space. Check the scanner’s documented reading limits, then test the actual label at its real distance and angle. ISO/IEC 15416 grades linear barcode print quality from 0.0 to 4.0, giving teams a measurable way to assess printed symbols. I still test samples under ordinary warehouse lighting; specifications cannot capture every scuffed edge or glossy reflection. A slightly larger code may be the wiser choice. A quick test can prevent reprints.
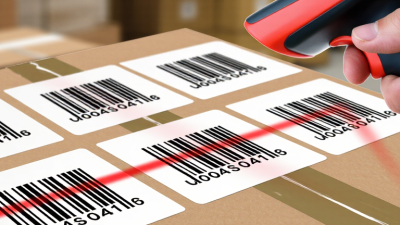
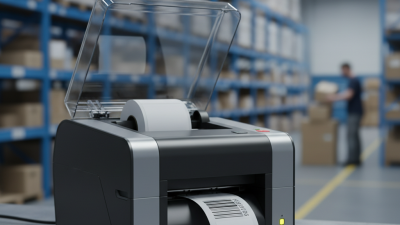
Match the Printer, Labels, and Ink to the Barcode Material

A reliable barcode begins with its surface. Glossy labels can reflect overhead light, while rough cartons may absorb ink unevenly. Match the printer to the label stock before changing print darkness or speed. Direct thermal printing can suit short-lived indoor labels, but heat and sunlight may darken them over time. For longer handling, thermal transfer can offer better resistance when the ribbon matches the label coating. Not every “durable” label behaves alike. Test it twice.

Paper and synthetic films need different settings and supplies. Use a ribbon intended for the label’s face material; a mismatch can cause faint bars, smudging, or gaps. Check that the printer supports the label’s thickness and surface. Then print a small batch and scan samples under actual lighting, from the usual scanning distance. Rub one label gently and inspect the bars again. A barcode may look sharp to the eye yet still scan poorly.

One weak point in many tests is checking only fresh labels. Include samples after handling, storage, or exposure to expected moisture and warmth. Keep the printer, label, and ribbon details with the test results, so a material change does not quietly alter print quality. If scans fail, adjust one variable at a time; changing speed, darkness, and ribbon together makes the cause harder to identify.

Set Print Resolution, Darkness, and Speed for Clear Edges

Reliable barcode printing starts with resolution. Choose the printer’s native dpi setting when possible, especially for labels with narrow bars and tight spaces. A low-resolution image enlarged on the label can leave stair-stepped edges. Sharp edges matter. Print a sample at the intended label size, then inspect it closely rather than judging a magnified screen image.

Darkness needs care. If bars look gray, raise darkness slightly and print another sample. Too much heat can widen bars and close small gaps, particularly on heat-sensitive stock. Check for consistent, solid bars without a dark halo around their edges. Stock, ribbon, and printhead condition all affect the result, so a setting that worked yesterday may fail after a material change.

Speed affects edge definition, too. Fast output can blur narrow bars or create uneven lines when labels shift. Slow the printer for a test run, then scan several samples at different angles and distances. Keep a note of the resolution, darkness, and speed that worked. A smudged corner? Check alignment and clean the printhead before changing every setting at once.

Top 10 Ways to Print Barcodes That Scan Reliably - Set Print Resolution, Darkness, and Speed for Clear Edges
No. Focus Recommended Practice Practical Guide What to Check
1 Choose suitable print resolution Use a printer resolution that can reproduce the barcode’s narrowest bars or modules cleanly at the selected physical size. Common thermal printer resolutions include 203 and 300 dpi. A higher dpi can help with small elements, but does not automatically make every barcode more reliable. Inspect a printed sample at actual size. Confirm narrow bars and spaces remain distinct and match the applicable specification.
2 Set darkness carefully Adjust print darkness only enough to create solid, even bars. Excessive heat can make bars spread and spaces shrink. There is no universal darkness value; settings vary by printer, media, ribbon, and environment. Look for filled-in spaces, ragged edges, gaps, or fading. Change the setting in small steps and reprint a test.
3 Balance print speed and quality Reduce speed if fast printing produces inconsistent density, blurred edges, or incomplete bars. Use a slower setting as a troubleshooting starting point, then increase speed only while scan performance remains consistent. Test samples from the beginning, middle, and end of a print run to detect quality changes over time.
4 Use compatible media and ribbon Match the label or paper stock to the printer and, for thermal-transfer printing, use a ribbon compatible with the media. Different coatings and materials absorb or transfer ink and heat differently; a setting that works on one stock may not work on another. Check for smudging, poor transfer, fading, and uneven darkness on the actual production material.
5 Keep barcode dimensions intact Generate the barcode at its intended size and avoid stretching, compressing, or resizing it after creation. Choose dimensions based on the barcode type, scanning distance, application requirements, and applicable standards. Verify that bars and spaces have consistent widths and that the finished symbol has not been distorted.
6 Preserve quiet zones Leave clear, unprinted space around the barcode as required for its symbology. Quiet-zone requirements differ by barcode type and specification; do not place text, borders, or graphics in the required area. Check the full symbol, including both ends, after the label layout is finalized.
7 Maintain strong contrast Print dark bars against a light, uniform background. Avoid reflective, patterned, or low-contrast surfaces where possible. Black bars on a white background are a common, dependable choice. Some scanners may not read certain colored bars reliably. Check the printed label under the lighting and conditions in which it will be scanned.
8 Keep the printhead and path clean Clean and inspect the printhead and media path according to the printer’s maintenance instructions. Dust, adhesive residue, or a damaged printhead element can create recurring lines or missing portions in printed bars. Look for repeated vertical gaps, streaks, or defects across multiple labels.
9 Use an appropriate print orientation Choose an orientation and label layout that avoid stretching, clipping, or poor-quality scaling by the print software. Test the final file and print workflow together; application settings can alter dimensions or image quality. Compare the printed barcode with the approved artwork and confirm that no edges are clipped.
10 Verify with scanners or a verifier Test printed barcodes with the intended scanning equipment. For standards-based quality control, use a suitable barcode verifier. A successful scan alone does not measure all print-quality characteristics; formal acceptance criteria depend on the application and standard. Test multiple samples and orientations, and record results when quality must be monitored or documented.

Design the Barcode with Proper Contrast, Spacing, and Quiet Zones

Reliable barcode printing starts with clear contrast. Keep bars consistently dark and the background light; avoid glossy surfaces that create glare under scanner lights. ISO/IEC 15416 grades linear barcode print quality from 0.0 to 4.0 using scan reflectance profiles. A strong grade is useful, but it cannot compensate for cramped spacing. Small detail. It matters.

Quiet zones are blank space beside the barcode, not spare room for labels or borders. GS1 General Specifications require an EAN-13 symbol to have quiet zones of at least 11X on the left and 7X on the right, where X is the narrowest bar width. Keep text, cuts, and nearby graphics outside those areas. Check the printed label at its actual size; scaling can quietly shrink the clear space. It is an easy mistake to miss on screen.

Tips: Print a test label on the intended stock, then scan it from several angles and distances. For objective verification, use an ISO/IEC 15416-compliant verifier and record the grade. If scans fail, inspect contrast, smudges, and quiet zones before changing the barcode data. One caveat: a neat-looking label can still scan poorly.

Verify Scan Performance and Correct Printing Problems promptly

A barcode that scans once is not necessarily reliable. I have learned that a quick pass with a handheld scanner can hide weak print quality. Test samples from the beginning, middle, and end of a print run. Use the scanners and working distance your staff will actually use. Small changes in angle, glare, or label position matter.

A barcode verifier can measure print quality more consistently than a scanner alone. Check that the printed code meets the applicable specification for its use, and record results by batch. Look closely at narrow bars, clear space around the code, and contrast. Faded edges, smudges, or compressed bars can signal trouble. Keep test labels; they make recurring faults easier to spot.

When results drop, pause and inspect the printer before changing several settings at once. Clean the printhead, check the ribbon and label stock, then review darkness, speed, and scaling. Print another sample and verify it again. Fix the cause promptly, not just the visible symptom. A hurried adjustment can make things worse. I still find that a perfect bench test does not always match a busy packing line, so periodic checks there are worth the extra minutes.

Top 10 Ways to Print Barcodes That Scan Reliably

Verify scan performance and correct printing problems promptly.

Linear barcode print quality is commonly graded on a 0–4 scale using ISO/IEC 15416. Many GS1 applications specify a minimum grade of 1.5 (C), though requirements vary by application. Verify printed symbols with a calibrated barcode verifier, then promptly correct issues such as low contrast, smudging, or inconsistent print quality.