10 Tips for Printing Barcodes That Scan Every Time?
Printing Barcodes is not simply a matter of choosing dark ink and pressing “print.” A label may look sharp on screen, yet fail under warehouse lighting, scanner angles, dust, or a wrinkled carton. In practice, small details matter: quiet zones, contrast, print darkness, substrate, and the movement of the scanner. GS1’s General Specifications and ISO/IEC 15416 provide recognized guidance for barcode quality, including symbol contrast, modulation, defects, and decodability. These standards turn a visual guess into a measurable process.
The business pressure is increasing. Zebra’s 2023 Warehousing Vision Study reports that 73% of warehouse decision-makers plan to adopt RFID by 2028. That investment signals a wider need for reliable, machine-readable identification across busy operations. Yet traditional barcodes remain widely used because they are affordable, familiar, and easy to integrate. A poor print can interrupt receiving, picking, shipping, or inventory counts within seconds. The cost is rarely limited to reprinting one label.
This guide presents 10 practical tips for printing barcodes that scan every time. It covers printer setup, label materials, resolution, verification, placement, and routine maintenance. The uncomfortable truth is that no printer setting works perfectly for every environment. Humidity changes. Adhesive behaves differently. Operators make mistakes. That is why testing should happen on the actual label, carton, scanner, and workflow—not only on a clean sample sheet. A perfect-looking barcode can still fail. Reliable results come from measured quality, repeatable procedures, and honest review of weak points.
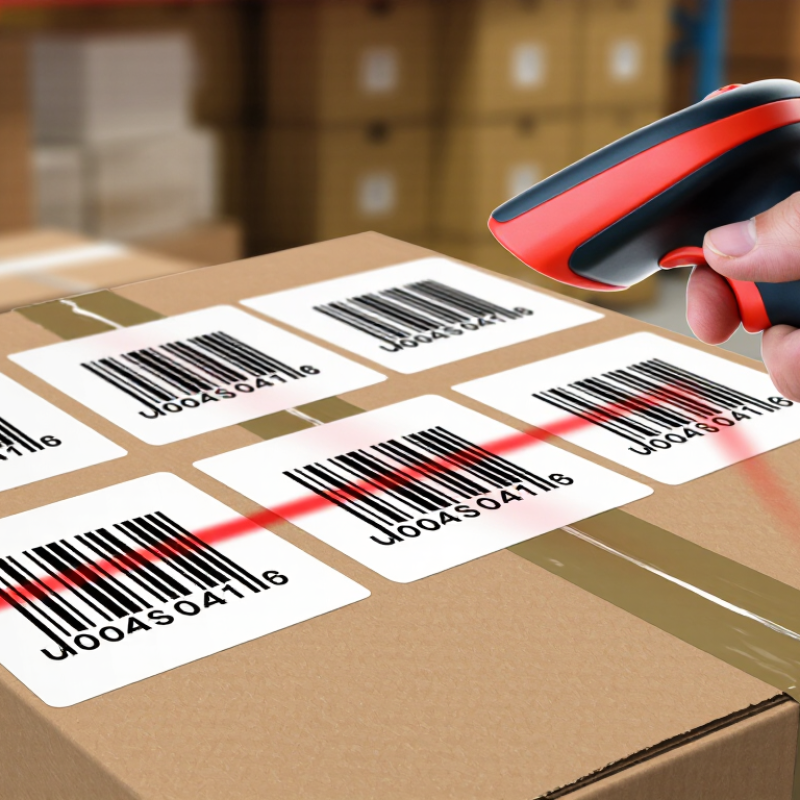
Choose the Right Barcode Type and Printing Format
10 Tips for Printing Barcodes That Scan Every Time
Choose the Right Barcode Type and Printing Format
Barcode selection should follow the data, scanner, and packaging surface. Use Code 128 for compact alphanumeric logistics data. Choose ITF-14 for outer cases and distribution cartons. For product pages, QR Code or Data Matrix can hold more information in limited space. GS1 US’s Sunrise 2027 guidance encourages businesses to prepare for wider 2D barcode use. That shift makes format planning important now.
Printing quality matters as much as barcode choice. ISO/IEC 15416 grades one-dimensional symbols from 0 to 4. ISO/IEC 15415 applies similar quality testing to two-dimensional symbols. Aim for a strong grade, not merely a readable first scan. Keep the quiet zone clear. Maintain sharp contrast. Avoid glossy reflections, stretched images, and uneven thermal transfer. A vector PDF or high-resolution raster file usually preserves edges better than a screenshot.
In production work, I check the smallest printed barcode, not the largest sample. It exposes weak settings quickly. Print at the printer’s native resolution, commonly 300 or 600 dpi, and match the module size to the scanner. Test after abrasion, folding, and exposure to warehouse lighting. I have approved labels that scanned perfectly on a desk but failed on cartons. That mistake still deserves attention. Independent verification against ISO standards is more reliable than visual inspection alone.
10 Tips for Printing Barcodes That Scan Every Time
Choose the right barcode type and printing format. The chart compares common barcode formats by their typical data capacity, helping match the symbol to the information being encoded.
UPC-A, EAN-13, and ITF-14 are fixed-length symbols commonly used for numeric identification. Code 39 and Code 128 support variable-length data, making them more flexible for labels that contain letters and numbers.
Set Accurate Barcode Dimensions and Resolution
Accurate barcode dimensions determine whether a scanner reads consistently. Measure the narrowest bar, called the X-dimension, before designing the label. Small changes can affect every symbol. Follow the required size range for your barcode type and avoid shrinking it to fit. Leave clear white space on both sides. This quiet zone is part of the barcode, not decoration. Keep bars straight, evenly spaced, and free from nearby text or borders.
Tip: Test the printed size with a ruler, not only on screen. A label may look correct digitally but print smaller than expected. I once trusted a design preview and missed a slight scaling error. It caused repeated scans at an awkward angle. That mistake changed my process. I now measure samples after printing and record the actual dimensions.
Resolution must match the detail of the symbol. Use a printer with enough dots per inch to reproduce narrow bars cleanly. Low resolution can create jagged edges or merged spaces. Excessive resolution does not repair incorrect dimensions. Check print darkness, material, and speed together. Then scan several samples from different areas of the sheet. A verifier provides stronger evidence than one successful scan. Still, verification can expose problems I did not expect, especially when ink spreads or labels curl. Adjust one setting at a time, and keep a dated sample for comparison.
Use Suitable Printers, Labels, and Ink
10 Tips for Printing Barcodes That Scan Every Time
Use Suitable Printers, Labels, and Ink
Reliable barcode printing begins with the right equipment. Choose a printer designed for your label material and daily volume. Select labels with a smooth, non-glossy surface. Excessive shine can confuse scanners. Match the ink or thermal setting to the printer. Weak contrast creates avoidable failures. Keep the barcode size within its approved specification, and protect the blank space around it. That space matters more than many operators expect.
I test print quality at the actual scanning distance. A barcode that looks sharp to me may still fail under warehouse lighting. Print dark bars with clean edges, but avoid excessive darkness that spreads ink. Check printhead alignment and replace worn components promptly. Store labels away from heat, dust, and moisture. Humid stock can curl or absorb ink unevenly. Small details matter.
My first setup relied too heavily on visual checks. That was a mistake. Now I scan samples from the beginning, middle, and end of each print run. I also test labels after handling, stacking, and short-term storage. Different scanners may read the same symbol differently. Record failed samples and adjust one setting at a time. A calibration setting that works today may need review when the label material changes. Reliable printing requires testing, not assumptions.
Maintain Proper Contrast, Spacing, and Quiet Zones
Reliable barcode printing begins with contrast, not decoration. Dark bars must stand clearly against a light, even background. Test samples under the same lighting used at checkout. Glossy labels can reflect light and weaken scanning performance. Matte stock often performs more consistently. It is not always the prettiest choice. I have learned that visual appeal cannot replace measurable contrast. Use a barcode verifier when possible, rather than trusting a phone camera.
Spacing deserves equal attention. Keep bar widths consistent and avoid unwanted stretching during layout or printing. Small shifts can change the encoded pattern. Protect the quiet zones, which are the blank areas surrounding the barcode. Keep text, borders, logos, and graphics outside these zones. A nearby line may look harmless, but a scanner can read it as part of the symbol. Leave extra space when the design permits. It helps.
Printer settings also affect accuracy. Select the correct resolution and avoid automatic scaling. Excessive darkness may spread ink across narrow spaces. Inspect bar edges closely. Test several labels across the print run, not just one sample. Replace worn print components and record the settings that worked. Manual inspection has limits. That is an important weakness to admit. Combine visual checks with verification results, then retest after changing paper, speed, ink, or humidity.
Test, Inspect, and Store Printed Barcodes Correctly
Test every print run, not just the first label. Scan samples from the beginning, middle, and end of the batch. Use the intended scanner, distance, and lighting. A barcode that scans on a desk may fail under warehouse glare. ISO/IEC 15416 rates one-dimensional symbols from 0.0 to 4.0, with results reported in 0.1 steps. Record the grade, contrast, defects, and scan location. Keep the records. They reveal patterns that memory misses.
Inspect the quiet zones, bars, text, and edges under consistent lighting. GS1 General Specifications define placement, size, and quiet-zone requirements for retail symbols. A tiny border can disappear after trimming. Print at 100% scale, and check ribbon, toner, ink, and printhead condition. Ten successful scans are useful, but they do not prove durability. Try again after rubbing, bending, or handling the label. Real use is less gentle.
Store printed labels flat, clean, and away from direct sunlight. Control humidity and avoid stacking them against dusty surfaces. Thermal materials can darken or fade when exposed to heat. Use older stock first, and keep batch numbers with inspection results. One practical weakness remains: many teams test readability but forget the adhesive. A label may scan perfectly, then peel from cold plastic. Test the complete label on its real surface before release.

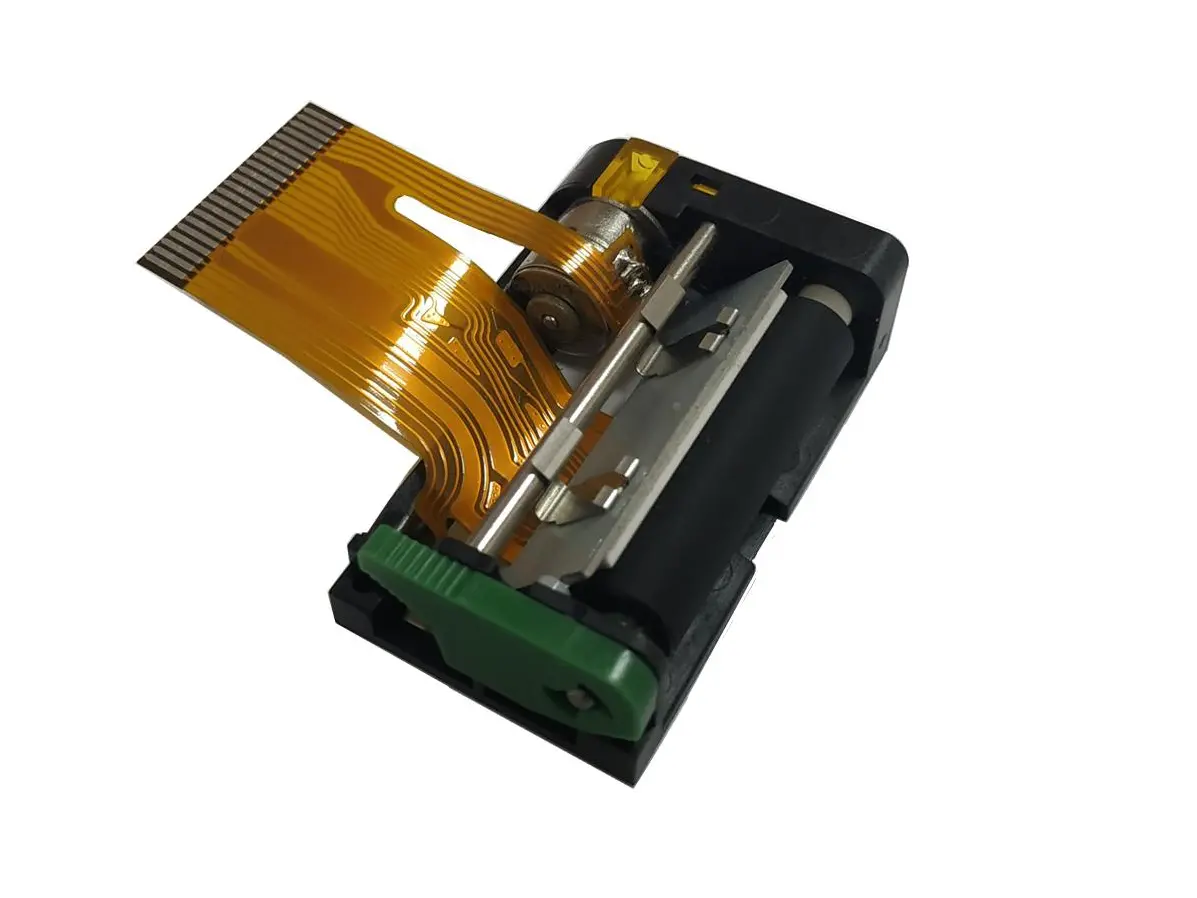 1 inch thermal printer mechanism
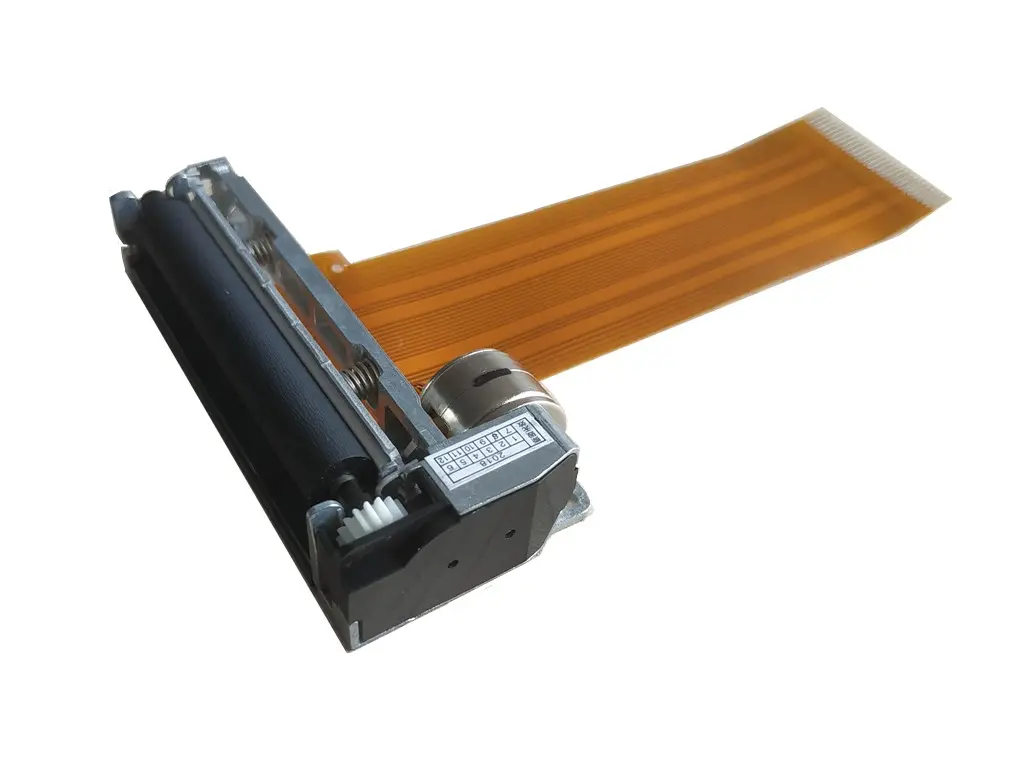 2 inch thermal printer mechanism
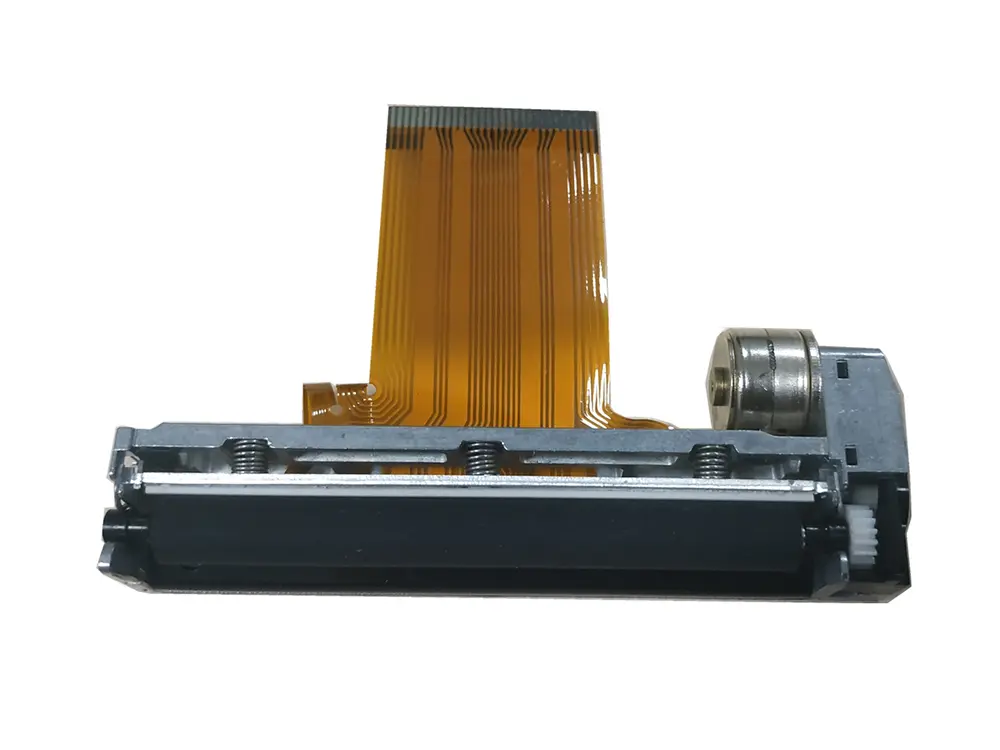 3 inch thermal printer mechanism
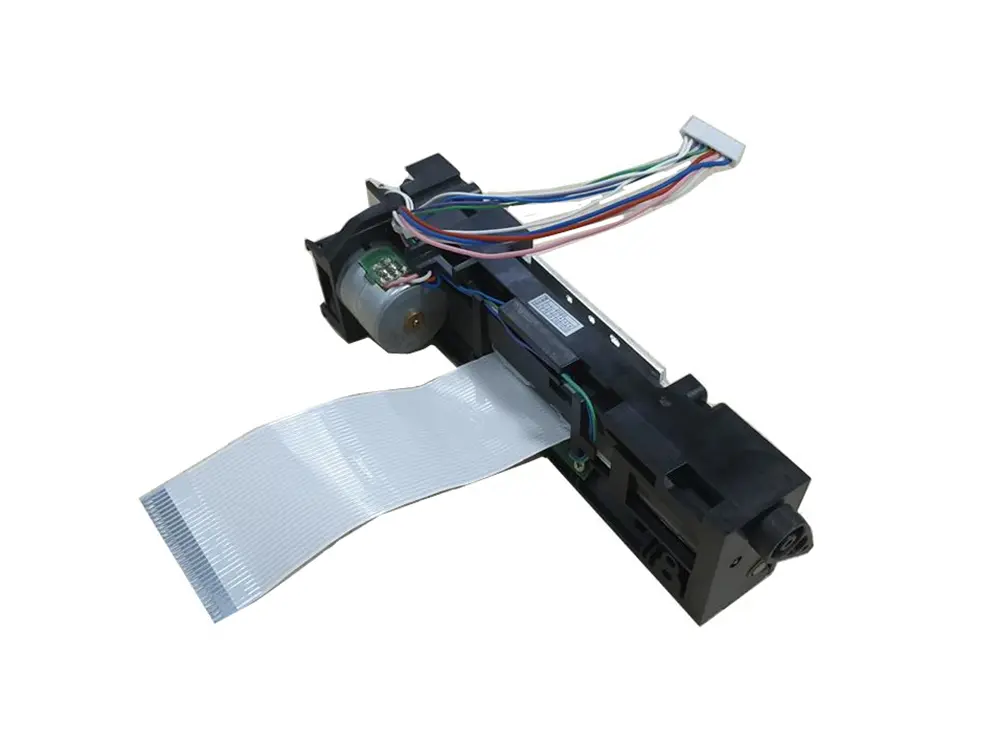 4 inch thermal printer mechanism
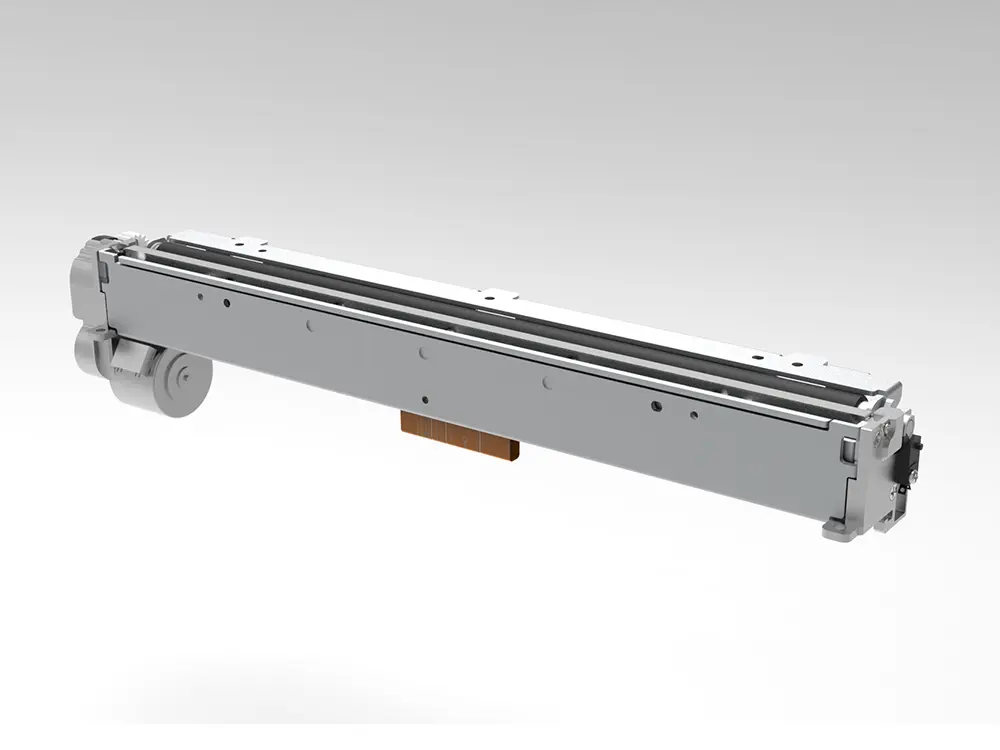 8 inch thermal printer mechanism
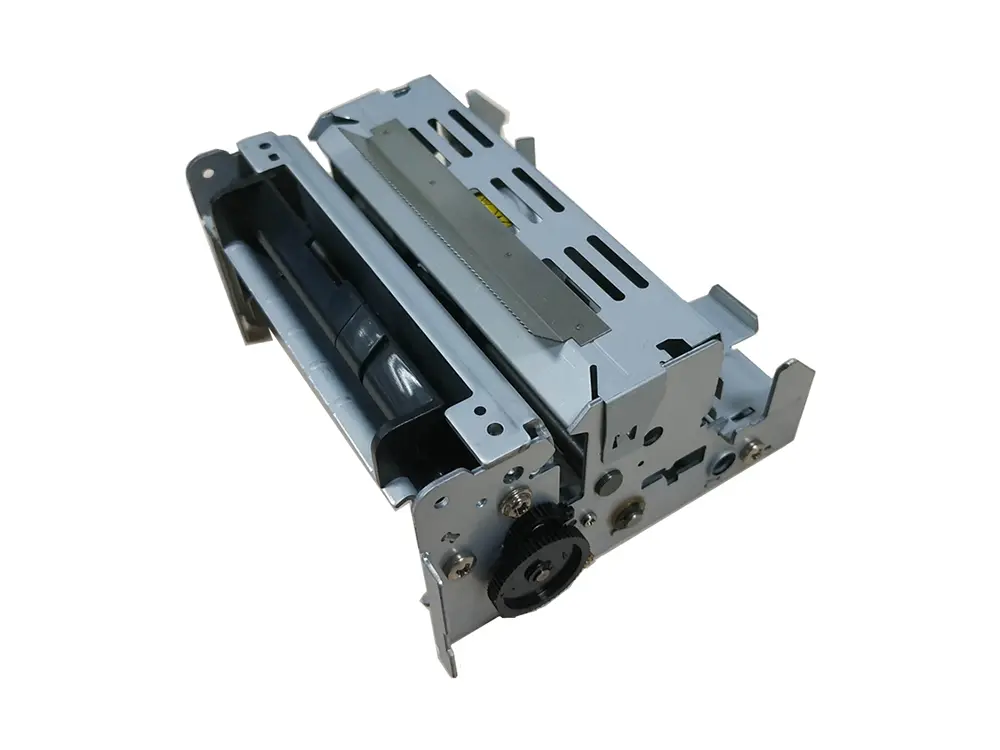 dot matrix printer mechanism
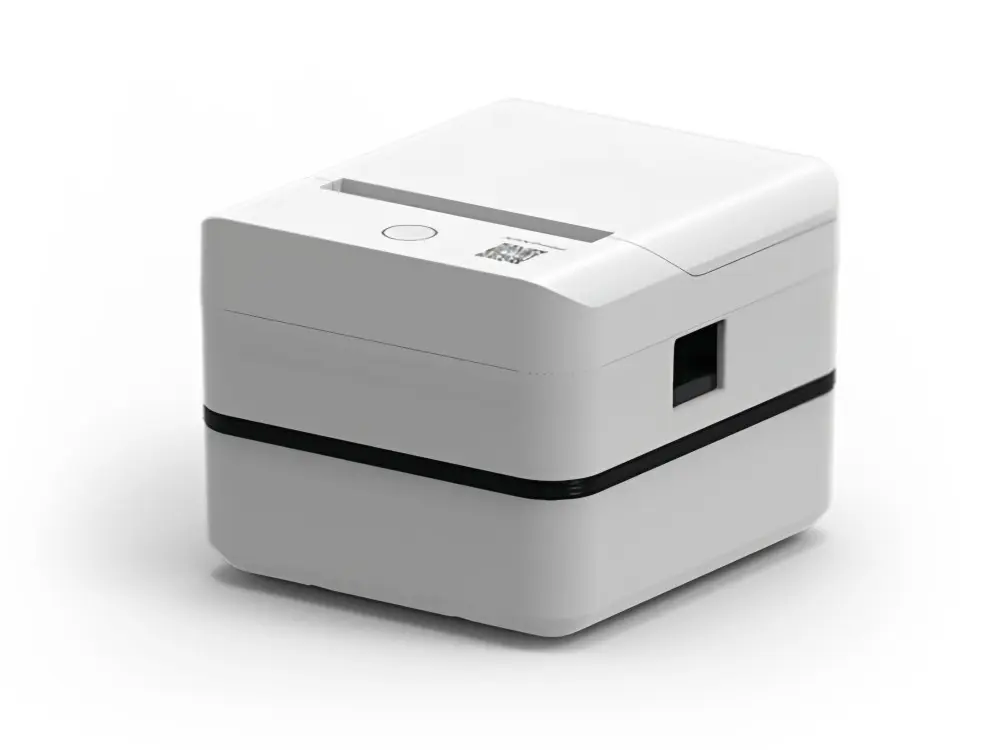 Label Printer
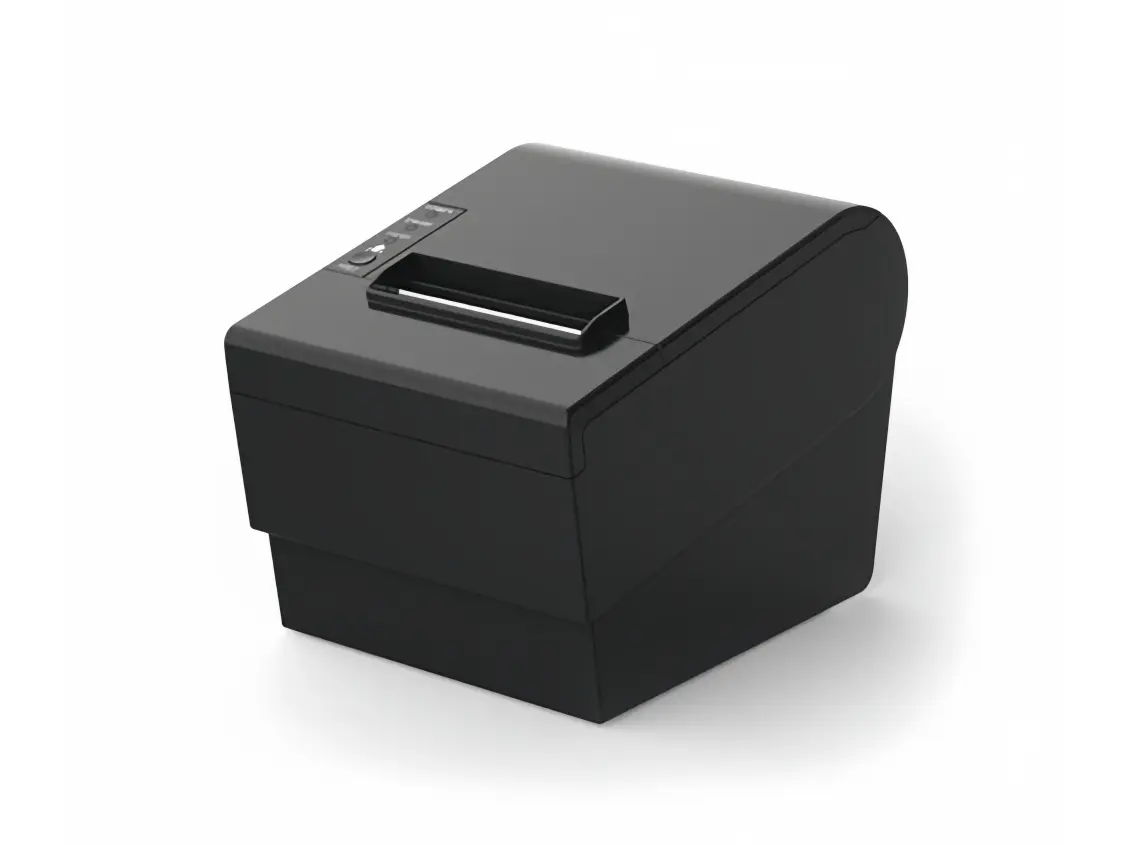 Receipt Printer
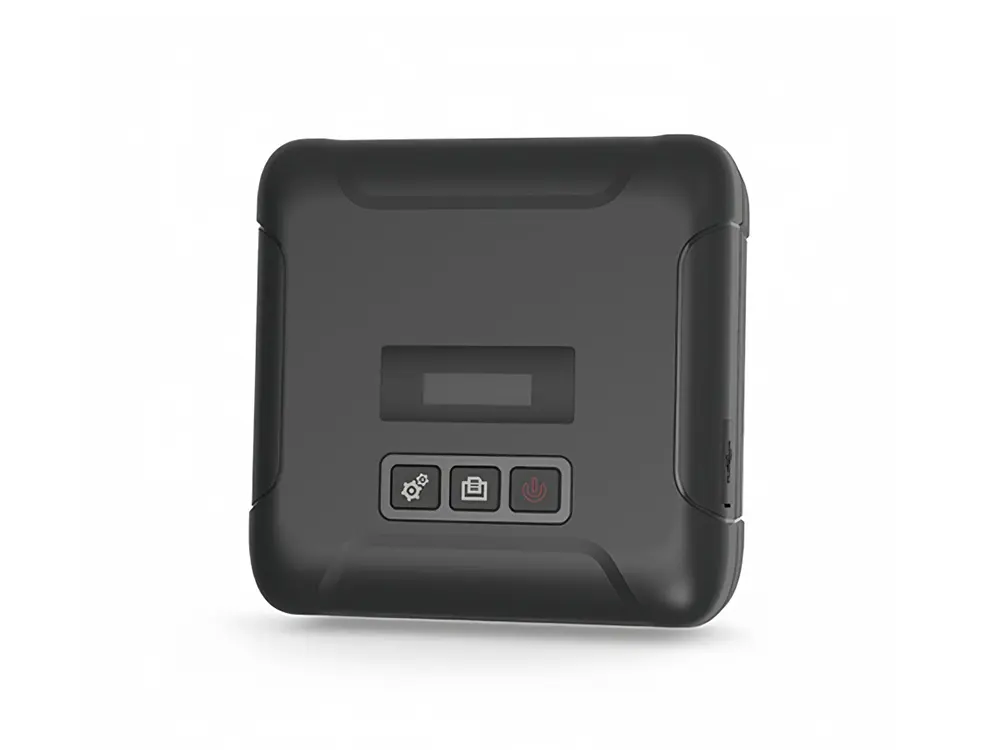 Mobile Printer