Leave Your Message

How to Connect a Bluetooth Receipt Printer to Your Device

A Bluetooth Receipt Printer can make checkout more flexible. It can sit beside a counter, travel with a mobile cart, or print receipts from a tablet. Yet pairing is not always plug-and-play. The printer may appear in the device menu but still fail to print because its companion app, connection mode, or paper setting is wrong. Small details matter.

Bluetooth is widely used for device connections. The Bluetooth SIG’s 2024 Bluetooth Market Update projects annual shipments of Bluetooth devices to reach 7.5 billion by 2028. That figure signals broad adoption, not guaranteed compatibility between every printer and phone. Check the printer’s supported operating systems, Bluetooth version, and app requirements before pairing. Then charge the printer, load the roll with the printable side facing correctly, and keep the device nearby during setup. A test receipt helps catch trouble early.

This guide explains how to connect a Bluetooth Receipt Printer to a phone, tablet, or computer, then verify that it works inside the right printing app. It also covers common snags, such as a printer already connected to another device or a missing permission prompt. Follow the manufacturer’s instructions where models differ. One honest caveat: menu names change across operating-system versions, so a screenshot from an older guide may not match your screen. Take a moment to confirm each setting rather than repeatedly tapping “Connect.”
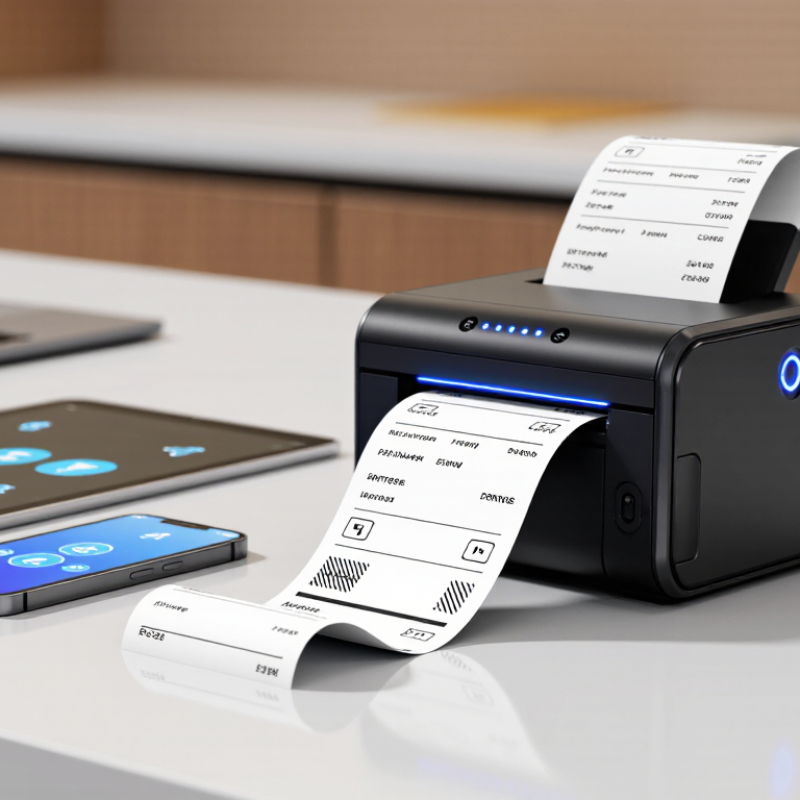
How to Connect a Bluetooth Receipt Printer to Your Device

Check Device Compatibility: Bluetooth Classic SPP or BLE GATT

Before pairing a receipt printer, confirm whether it supports Bluetooth Classic SPP or BLE GATT. They are different communication profiles, not interchangeable connection modes. SPP creates a serial-style data link, while GATT sends data through defined services and characteristics. A Bluetooth icon alone proves little. Check the printer’s specifications and your printing app’s requirements.

The Bluetooth SIG’s 2024 Market Update forecast 5.4 billion Bluetooth device shipments annually by 2028. That figure covers the wider Bluetooth market, not receipt printers specifically, but it shows why profile compatibility matters across devices. On Android, an app may support SPP through a Bluetooth socket or BLE through GATT. On iOS, BLE is commonly accessed through CoreBluetooth; classic serial access may require supported accessory arrangements. Read the operating-system and app documentation, too. A practical check: look for “SPP” or “GATT” in the printer manual, then confirm the app names the same profile. If the manual only says “Bluetooth,” ask the seller or manufacturer for the exact profile. It is an easy detail to miss, and pairing successfully does not guarantee that print data will transfer.
How to Connect a Bluetooth Receipt Printer: Check Device Compatibility

BLE GATT uses services and characteristics to exchange data. At the default ATT MTU of 23 bytes, a notification carries up to 20 bytes of attribute value after its 3-byte protocol overhead; a larger MTU may be negotiated. Bluetooth Classic SPP provides a serial data connection and has no directly comparable fixed payload size. Check that both your device and printing app support the printer’s protocol.

Load the Correct Paper: Receipt Rolls Commonly Measure 58 or 80 mm

How to Connect a Bluetooth Receipt Printer to Your Device

Before pairing a Bluetooth receipt printer, check which paper width its feed supports. Receipt rolls commonly measure 58 or 80 mm, and the printer’s manual or paper-compartment label should specify the correct size. A roll that is too wide may not fit; one that is too narrow can shift during printing. Measure the roll’s width, not its diameter. Then load it so the paper unwinds in the direction shown inside the compartment. A crooked edge can cause jams. It happens.

Tips: Keep a spare roll nearby. Tear off a short test receipt before pairing the printer with your phone, tablet, or computer. If the paper curls or prints unevenly, reseat the roll and check that the cover clicks shut. Don’t force the lid; some covers feel stiff even when the roll is loaded correctly.

Once the paper feeds smoothly, turn on Bluetooth and open your device’s connection settings. Select the printer only after it appears in the available-device list. A successful connection does not guarantee that the paper size is set correctly in the printing app. Check its paper-width option, especially after switching between 58 mm and 80 mm rolls. Small setup details can be easy to miss.

Enable Pairing Mode and Keep Class 2 Bluetooth Devices Within 10 m

A Bluetooth receipt printer usually pairs through your device’s Bluetooth settings. Turn on the printer, enable pairing mode, and select its name on your phone or tablet. Pairing mode may time out, so keep the printer nearby and follow its indicator lights. If it does not appear, switch Bluetooth off and on, then try again. Small setup details matter.

Distance affects reliability. Bluetooth SIG’s range guidance gives Class 2 devices a nominal range of up to 10 meters, but walls, metal counters, and nearby wireless equipment can weaken the signal. Keep the printer within 10 meters, preferably in the same open room. For example, avoid placing it behind a metal cash drawer. A connection can still falter at close range; check the printer’s manual and confirm that the device has selected it for printing.

Tips: Pair within a few meters for initial setup. Keep the printer awake, and move it away from thick walls or crowded device areas. If printing stalls, bring the device closer and reconnect. It is easy to blame distance alone, but a low printer battery can also cause an unreliable connection.

How to Connect a Bluetooth Receipt Printer to Your Device — Enable Pairing Mode and Keep Class 2 Bluetooth Devices Within 10 m
Step What to Do What to Check Useful Facts
1. Prepare the printer Turn on the receipt printer and make sure it has paper and sufficient battery power, or is connected to its power supply. Confirm that the printer is ready and not showing an error or low-battery warning. A powered, ready printer is easier to discover and pair with a device.
2. Enable pairing mode Use the printer’s pairing control or setup procedure. If the method is unclear, check the printer’s user instructions; button combinations vary by model. Look for a blinking Bluetooth indicator or another pairing-ready signal described in the instructions. Pairing mode makes a device available for discovery. It is not always enabled automatically when the printer is switched on.
3. Keep devices close Place the phone, tablet, or computer near the printer while pairing, with as few obstacles as possible. For a Class 2 Bluetooth device, keep the devices within 10 m (about 33 ft); a shorter distance can improve reliability. Ten metres is a typical stated range for Class 2 devices under suitable conditions. Walls, metal objects, and radio interference can reduce range.
4. Search from the host device Open the device’s Bluetooth settings, turn Bluetooth on, and select the printer when it appears in the available-device list. Check the printer’s displayed device name against the name or identifier in its instructions. Menu names and connection steps differ between operating systems and device models.
5. Complete pairing Accept the pairing request. If a PIN or passcode is requested, use the value specified in the printer’s instructions rather than guessing. Wait until the device reports that the printer is paired or connected. Pairing records the relationship between devices; an app or operating-system print setup may still be needed to send receipts.
6. Test printing Use a compatible receipt-printing app or print function to send a short test receipt. Verify that text prints clearly and that the paper feeds and cuts correctly, if the printer has an automatic cutter. Bluetooth connection alone does not guarantee that every app supports the printer’s communication method or receipt format.
7. Troubleshoot if needed Move the devices closer, make sure the printer is not already connected to another host, and retry discovery. Restart Bluetooth or the printer if necessary. Remove an outdated pairing from the host device before pairing again, when appropriate. Bluetooth radio traffic and physical obstructions can interrupt connections; reducing distance and interference often helps.

Pair Through Device Settings on Bluetooth’s 2.4 GHz ISM Band

To connect a Bluetooth receipt printer, turn it on and place it near your phone, tablet, or computer. Make sure the printer has enough battery or a steady power supply. Bluetooth works on the 2.4 GHz ISM band, which it shares with some Wi-Fi devices. You usually do not need to choose a frequency or channel yourself. Open your device’s Bluetooth settings and look for the printer in the available-device list. Keep the printer close during pairing; a few feet is a sensible starting distance.

Tips: Put the printer into pairing mode using its controls or setup guide. Select its listed name in your device settings, then enter a PIN only if the guide requests one. If it does not appear, switch Bluetooth off and on, check that another device is not already connected, and try again. Small menus can be confusing.

A successful connection should show as paired or connected in your device settings. Send a short test receipt before relying on the setup for a busy shift. If printing stalls, check paper loading and reconnect the printer. Nearby wireless traffic can sometimes affect the connection, though it is not always the cause. Printer instructions differ, so verify the exact pairing steps for your model instead of guessing.

Install the POS App or Driver, Then Print a Test Receipt at 203 dpi

Install the printer’s POS app or operating-system driver before pairing. Keep the printer close to your phone or tablet, load the correct receipt roll, and enable Bluetooth. In the device settings, select the printer and confirm the connection in the app. Bluetooth SIG’s 2024 Market Update forecasts 5.4 billion Bluetooth device shipments annually by 2028, but a successful pairing still depends on compatible software and permissions. Check that the app has Bluetooth access. Small setting, big difference.

Choose the printer’s 203 dpi profile, then print a test receipt. At this resolution, the print head places about eight dots per millimeter, so narrow text and logos can look rough if the app scales them poorly. Use a short sample with a few lines, a total, and a barcode. Check that characters are dark, aligned, and fully visible; also confirm the paper advances and cuts cleanly, if the unit has an auto-cutter. I still recheck paper width after switching rolls. A test print can expose a mismatch before a busy shift. If it comes out blank, verify the roll’s thermal side faces the print head, then reconnect and print again.