Choosing the right Cable Labeller begins with a practical question: what must the label survive? A tidy office panel needs different protection from a cable routed through dust, heat, oil, or constant movement. The best choice depends on the cable surface, installation environment, printing method, and expected service life.
Electrical educator Mike Holt offers a useful principle: “A label should identify the circuit clearly and remain readable over time.” That idea sounds simple. It is not always easy to achieve. A wrap-around label works well on finished cables and supports quick visual checks. A self-laminating label adds protection around printed text. Heat-shrink markers create a clean, permanent finish, especially in control cabinets and industrial wiring. Flag labels can improve readability when several cables sit tightly together.
Think about a technician working inside a crowded cabinet. The label should be visible without twisting the cable or removing nearby components. Thermal-transfer printing usually produces sharper text than ordinary office printing. It also handles small cable diameters more reliably. Still, no material is perfect. Adhesive labels may lift on dusty insulation, while heat-shrink tubing requires suitable equipment and careful sizing.
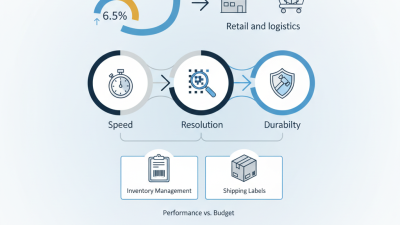
The right Cable Labeller is therefore a balance between speed, durability, readability, and cost. A professional installer should test the label on the actual cable before ordering large quantities. That small step can expose weak adhesion, poor contrast, or an unsuitable diameter. Sometimes the most expensive option is unnecessary. Sometimes the cheaper option creates years of avoidable maintenance.
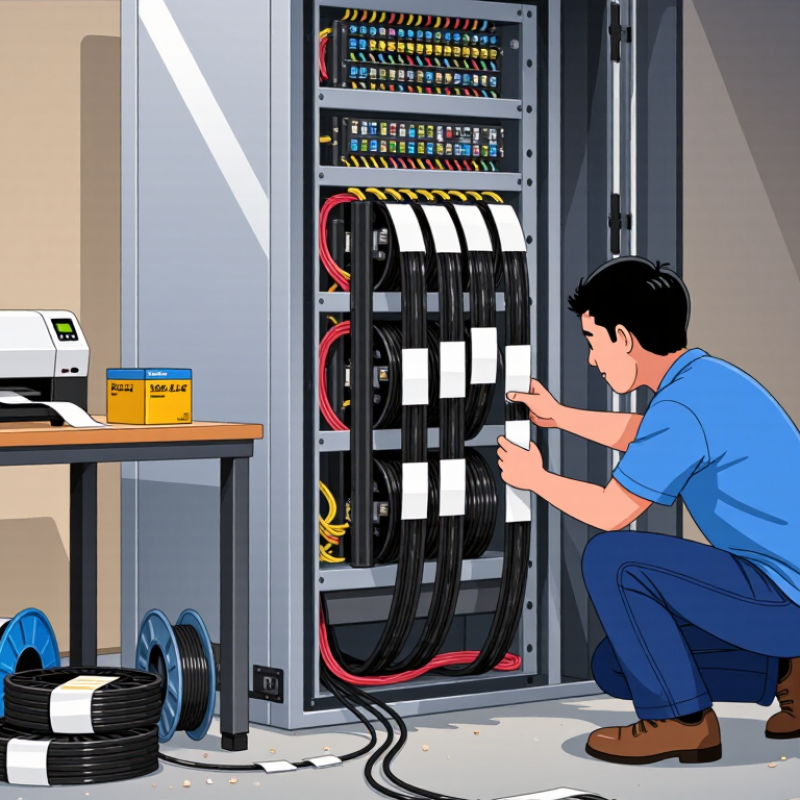
A cable labeller is a tool that identifies wires, cords, and network cables with clear, durable markings. It usually prints text onto adhesive tape, heat-shrink tubing, or self-laminating labels. The label then wraps around the cable or slides over its end.
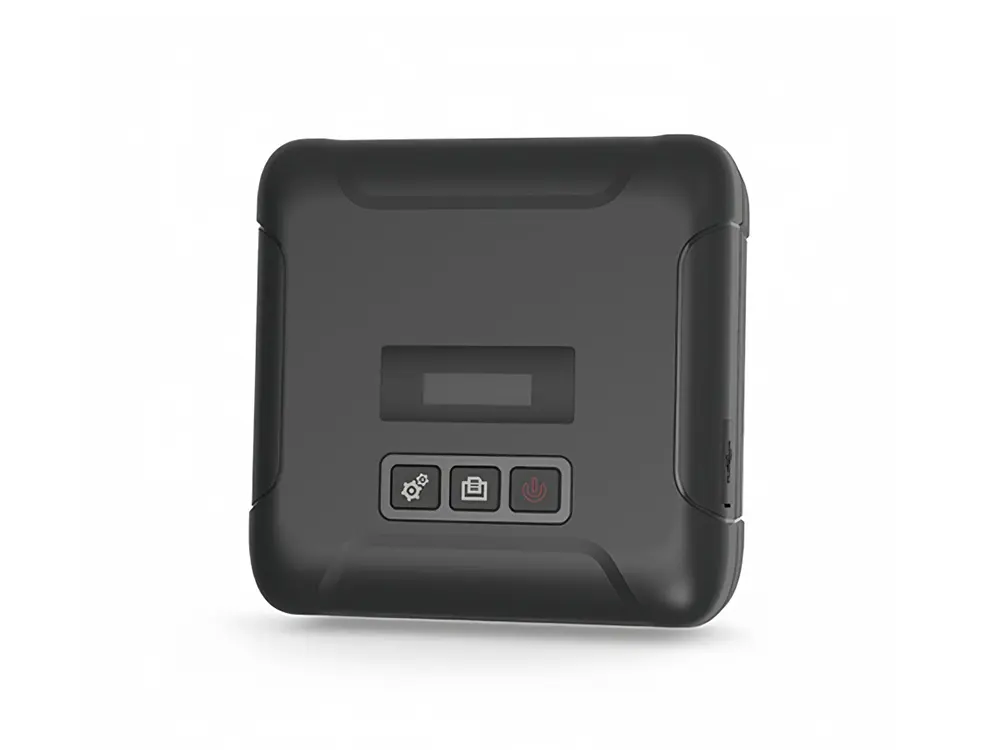
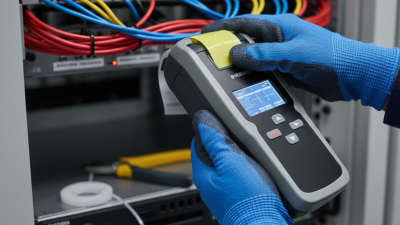
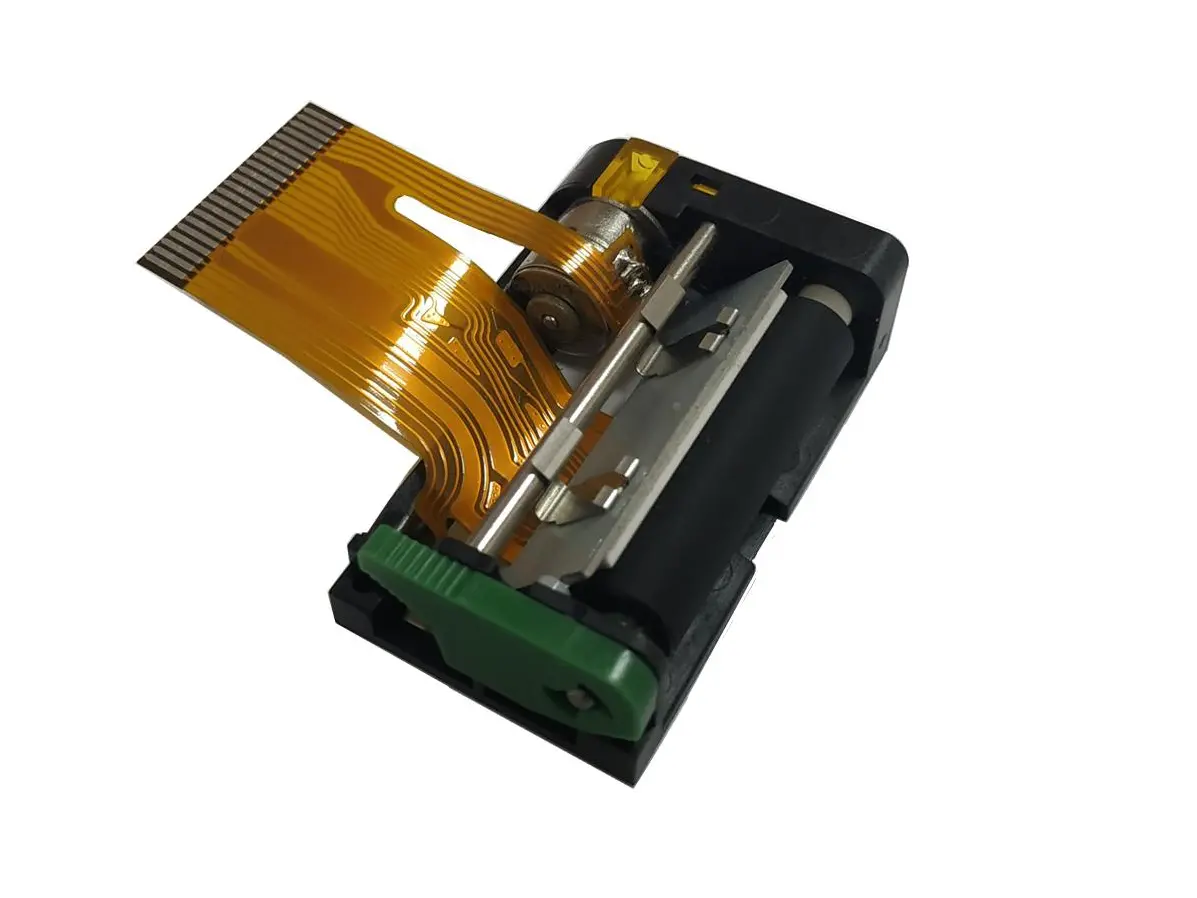
Most labellers work through a small keyboard, screen, and printing mechanism. You enter a name, such as “Office Router” or “Power Supply.” The device transfers ink or heat onto the chosen material. Some models cut each label automatically. Others require manual trimming. In my experience, correct label alignment matters as much as print quality. A neat label is easier to read inside a crowded cabinet.
Different cable environments need different materials. Heat-shrink labels suit wires exposed to movement or moderate heat. Self-laminating labels protect printed text from abrasion. Standard adhesive labels work well for desk cables and temporary changes. A handheld labeller is convenient, but its small screen can slow detailed projects. I sometimes choose the wrong label length when working quickly. That mistake wastes material and deserves checking before printing.
Tips: Clean the cable surface first. Use short, consistent names. Label both ends of long cables. Test one label before printing many. Keep spare cartridges nearby. Always confirm the printed text against your wiring record.
What Is a Cable Labeller and Which Type Is Best?
A cable labeller creates clear identifiers for wires, cables, and connection points. Accurate cable labelling matters because technicians must trace circuits quickly during installation, testing, and repairs. A small error can send someone to the wrong cabinet or terminal. That wastes time and may create serious maintenance risks.
The best labeller depends on the wiring environment. Wrap-around labels suit control panels and office systems with moderate exposure. Self-laminating labels protect printed text from abrasion and light moisture. Heat-shrink labels provide strong, permanent identification for demanding electrical installations. Thermal-transfer printing usually produces sharper, longer-lasting results than basic direct printing. Handheld devices are useful for small jobs, but larger projects need consistent templates and batch printing. A label can look neat and still be wrong. Therefore, installers should compare every label with the wiring schedule before closing the panel.
Tips: Use readable text, matching cable IDs, and durable materials. Place labels near both cable ends. Keep the code short enough to read inside a crowded cabinet. Check contrast under the actual lighting. Record changes immediately. This step is often skipped, and later corrections become expensive. I would also leave space for future cables, because a perfectly packed panel may not remain practical. Clear labelling supports safer troubleshooting, cleaner documentation, and faster handovers between teams.
Typical continuous service-temperature ranges for common cable-label materials. Select the material according to the installation environment, heat exposure, chemicals, moisture, and required durability.
Why accurate cable labelling matters: Clear, durable labels reduce identification errors, support faster maintenance, improve tracing during testing, and help technicians work safely in complex wiring systems.
Cable labellers identify wires, conduits, and control-panel connections. The best type depends on the cable material, working environment, and maintenance routine.
There is no universal winner. That is an important practical limitation.
Handheld thermal-transfer labellers suit electricians who print on site. They support wrap-around and self-laminating markers, which protect printed text from abrasion and moderate moisture. Desktop thermal-transfer systems offer sharper output and better batch control. They work well in workshops, data rooms, and panel-building areas. Heat-shrink markers provide a tighter fit around individual cables. They are useful where vibration or repeated handling may loosen adhesive labels. Clip-on markers are faster during retrofits, but they need enough clearance around the cable. Pre-printed markers remain efficient for repeated cable numbers, although they reduce flexibility when drawings change.
Smithers’ 2024 label-industry forecast identifies digital printing as a continuing growth area, driven by shorter runs and variable information. MarketsandMarkets also projects the industrial labels market to grow at over 5% annually through the decade. These figures support flexible printing, but they do not prove that every site needs a digital system. Cost, operator training, and consumable waste still matter.
Tips: Match the marker to the cable jacket first. Test print adhesion after bending. Use heat-shrink only when installation tools and inspection procedures are available. Keep one spare format. Small omissions become expensive during maintenance. I would also review label readability after six months, not only on installation day.
What Is a Cable Labeller and Which Type Is Best?
A cable labeller identifies wires with clear, durable markings. It can use self-laminating tape, heat-shrink sleeves, wrap-around labels, or clip-on tags. The best cable labeller depends on your working environment, cable size, and maintenance habits. In a server cabinet, compact wrap-around labels save space. In workshops, heat-shrink sleeves often provide stronger protection against heat, moisture, and abrasion. I have found that readability matters more than appearance. A label that looks neat but fades quickly creates extra work.
How to Choose the Best Cable Labeller for Your Needs
Check the label material before choosing a device. Smooth cables may accept adhesive labels well, while oily or textured surfaces need stronger bonding. Measure cable diameter carefully, because oversized labels can snag during installation. For frequent changes, choose a system that allows quick printing and simple replacement. For permanent installations, use labels designed for temperature and chemical resistance. Test a small batch first. Real conditions can expose weaknesses that product descriptions miss. I once chose a compact format for a crowded panel, but the text was too small to read comfortably. That was a preventable mistake.
Tips: Use short codes, consistent colors, and readable fonts. Label both cable ends. Include room, rack, and port details when useful. Keep spare labels nearby. Avoid relying on memory. Recheck every label after testing the connection, because a correct cable with an incorrect label can still cause confusion.
A cable labeller prints identifiers for power, network, audio, and control cables. The best type depends on your site, not the brightest screen. In cabinet work, a clear label can prevent hours of tracing. Uptime Institute’s 2024 Annual Outage Analysis reported that 54% of surveyed organizations experienced an outage during the previous three years. Labeling cannot prevent every failure, but it can shorten diagnosis time.
Before buying, check print durability, adhesive strength, and label size. Thermal-transfer printing usually suits heat, abrasion, and chemical exposure better than basic direct-thermal printing. For patch panels, choose wraparound or flag labels that remain readable from the front. Heat-shrink sleeves are useful for loose wires, but they require compatible tubing and careful sizing. The device should support barcode or QR printing when asset tracking matters. ANSI/TIA-606-C also emphasizes consistent identifiers and telecommunications records. A labeller without templates may create inconsistent naming, even when the printer works perfectly.
Tips: Test labels on real cable jackets before purchasing. Check readability under cabinet lighting. Confirm the battery lasts through a full shift. Bluetooth can be convenient, but connection failures waste time. A USB option is a useful backup. My own practical mistake was choosing a compact model with tiny text. It looked efficient, yet the labels were difficult to read from standing height. Consider memory, cutter quality, keyboard comfort, and resistance to dust. The cheapest tool is rarely the least expensive after rework.
| Labeller type | How it identifies a cable | Best suited for | Typical strengths | Potential limitations | Overall suitability |
|---|---|---|---|---|---|
| Wrap-around label | A printed section wraps around the cable, while a clear protective section covers the text. | Network cables, patch panels, office wiring, and general maintenance. | Quick to apply; readable from several angles; works with many cable diameters. | The label may rotate on very smooth or flexible cables if it is not applied tightly. | Best all-purpose option |
| Self-laminating label | A clear laminate extends over the printed area to shield it from abrasion, moisture, and light chemicals. | Data centres, control cabinets, telecommunications, and service environments. | Good protection without a separate over-laminating step; professional appearance. | Requires correct alignment; label length can be greater than the printed text length. | Best for durable indoor identification |
| Flag label | The printed surface projects outward from the cable, creating a larger visible area. | Bundled wires, short cable ends, and locations where the cable surface is difficult to read. | Highly visible; allows longer descriptions, port numbers, or service notes. | Can snag in crowded wiring; usually less compact than wrap-around labels. | Best for visibility |
| Heat-shrink tube labeller | Text is printed on heat-shrink tubing, which is then shrunk around the cable using controlled heat. | Electrical panels, harnesses, automotive work, and applications requiring a permanent fit. | Resists movement; provides a neat, integrated finish; suitable for cable assemblies. | Must be installed before connectors are fitted, unless split tubing is used; requires a heat source. | Best for permanent installations |
| Cable marker sleeve | A pre-cut sleeve or marker slides over the cable and remains in place through friction or adhesive. | Electrical wiring, machine assembly, and repeated identification of individual conductors. | Neat appearance; suitable for small conductors; can offer excellent resistance to wear. | The correct inside diameter is important; installation may require access to a cable end. | Best for organised cable assemblies |
| Feature | What to check | Why it matters | Practical buying guidance |
|---|---|---|---|
| Label material | Adhesive paper, polyester, vinyl, heat-shrink tubing, or another engineered material. | Material affects resistance to moisture, abrasion, chemicals, heat, and sunlight. | Choose durable synthetic materials for industrial or outdoor use and paper only for clean, dry, temporary work. |
| Cable diameter range | The smallest and largest cable diameters supported by the label format. | A poorly sized label can slide, wrinkle, overlap, or fail to wrap securely. | Measure the cable bundle, including its outer jacket, and allow room for connectors or strain relief. |
| Print durability | Resistance to smearing, fading, solvents, heat, moisture, and abrasion. | Readable identification reduces troubleshooting time and prevents incorrect connections. | For demanding environments, verify the label and ribbon or print process as a complete system. |
| Print resolution | The printer's dot resolution, commonly specified in dots per inch. | Higher resolution produces sharper small text, symbols, barcodes, and QR codes. | Select a higher-resolution model when labels are narrow or contain technical symbols. |
| Text and symbol support | Multiple fonts, barcodes, QR codes, electrical symbols, numbering, and sequential printing. | Advanced content improves traceability and speeds up installation of large cable groups. | Confirm that the required symbols, languages, and barcode formats are built in or supported by software. |
| Power and portability | Battery type, charging method, operating time, weight, and ability to print away from a workstation. | Portable equipment is useful when cables are already installed in cabinets, ceilings, or equipment rooms. | Choose rechargeable power for frequent field work and consider a spare battery for long shifts. |
| Connectivity | USB, wireless connection, mobile compatibility, and computer-based design software. | Connectivity makes it easier to import cable schedules and produce consistent label layouts. | Select standalone operation for quick jobs and computer or mobile support for larger projects. |
| Cutting options | Manual, automatic, half-cut, or full-cut operation. | Cutting style affects installation speed and whether labels remain attached in a continuous strip. | Automatic or half-cut functions are useful for repetitive work and batch labelling. |
| Operating environment | Indoor or outdoor use, temperature exposure, humidity, dust, vibration, and chemical contact. | Environmental conditions determine whether the label remains attached and readable over time. | Check published temperature and chemical-resistance specifications instead of relying on appearance alone. |
| Consumable availability | Available widths, colours, materials, cartridge sizes, and replacement cost. | A labeller is only useful when suitable labels are easy to obtain for future projects. | Compare total operating cost, not just the initial purchase price. |