
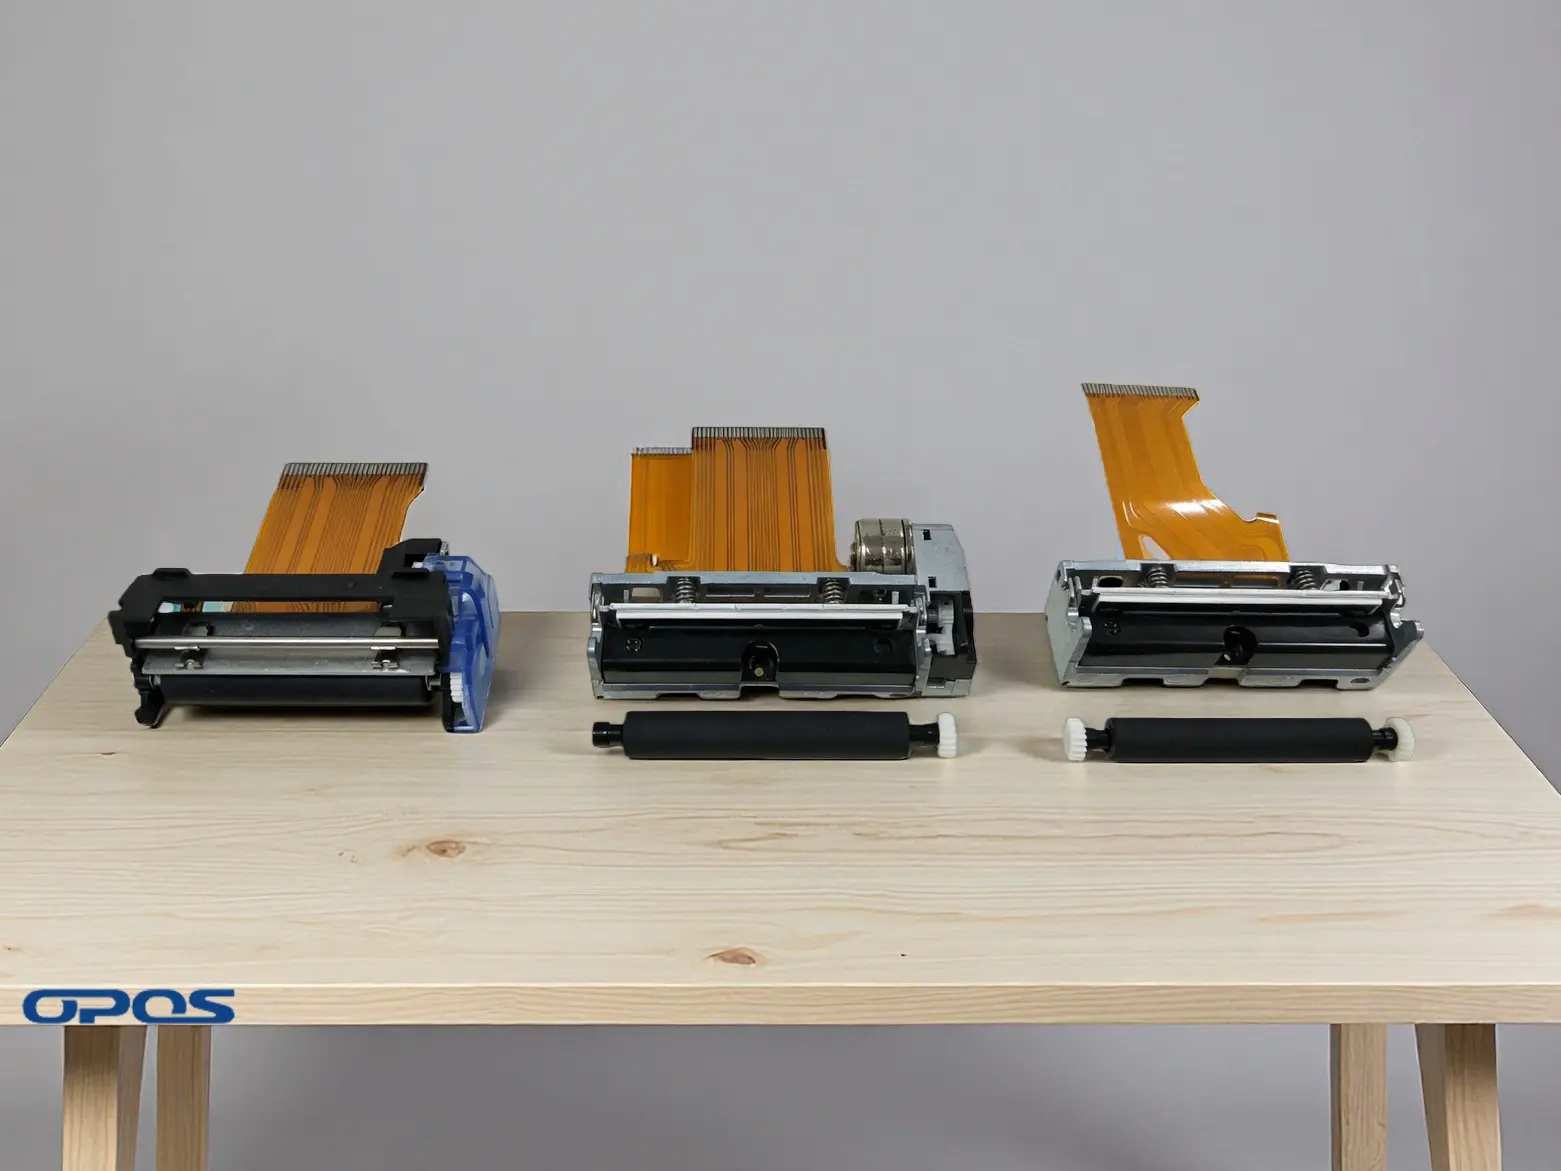
 1 inch thermal printer mechanism
 2 inch thermal printer mechanism
 3 inch thermal printer mechanism
 4 inch thermal printer mechanism
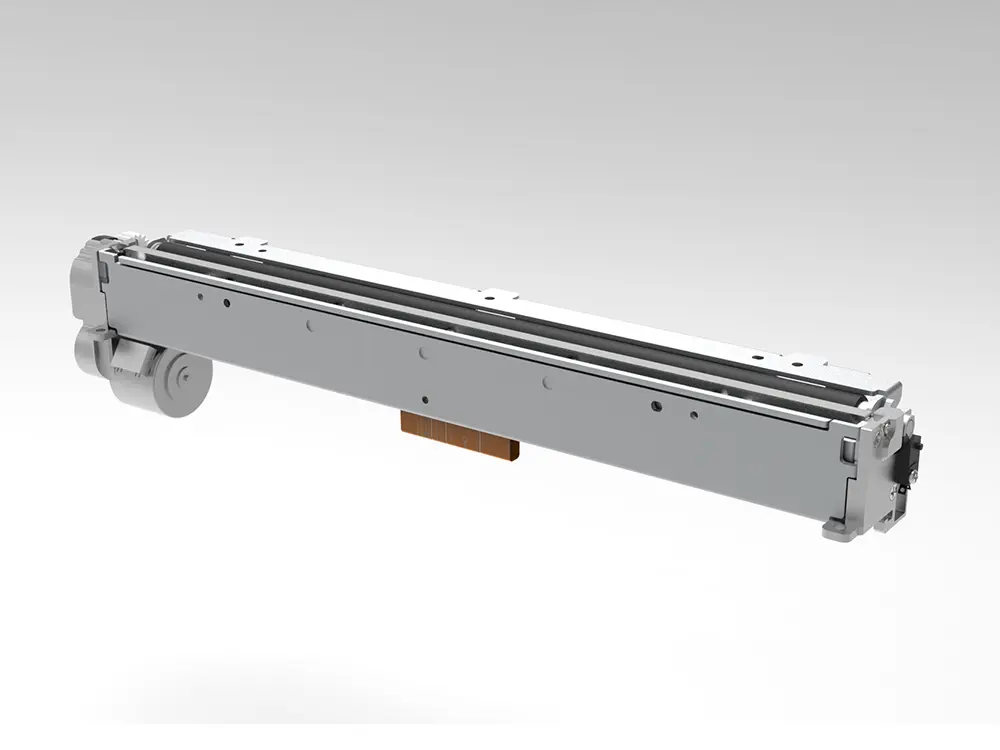 8 inch thermal printer mechanism
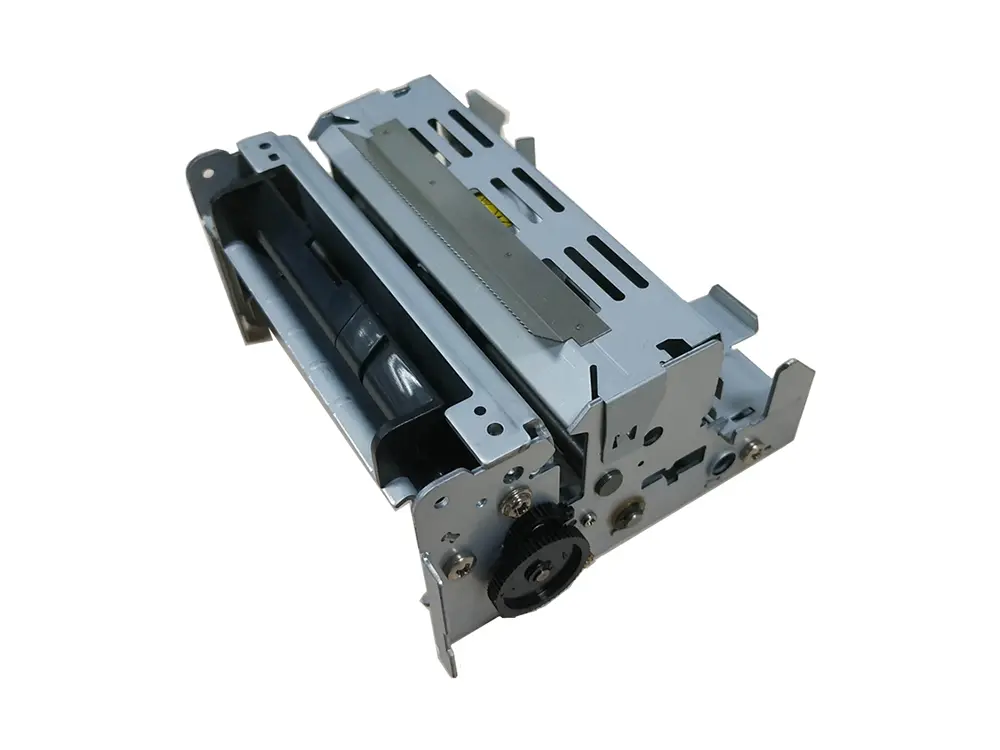 dot matrix printer mechanism
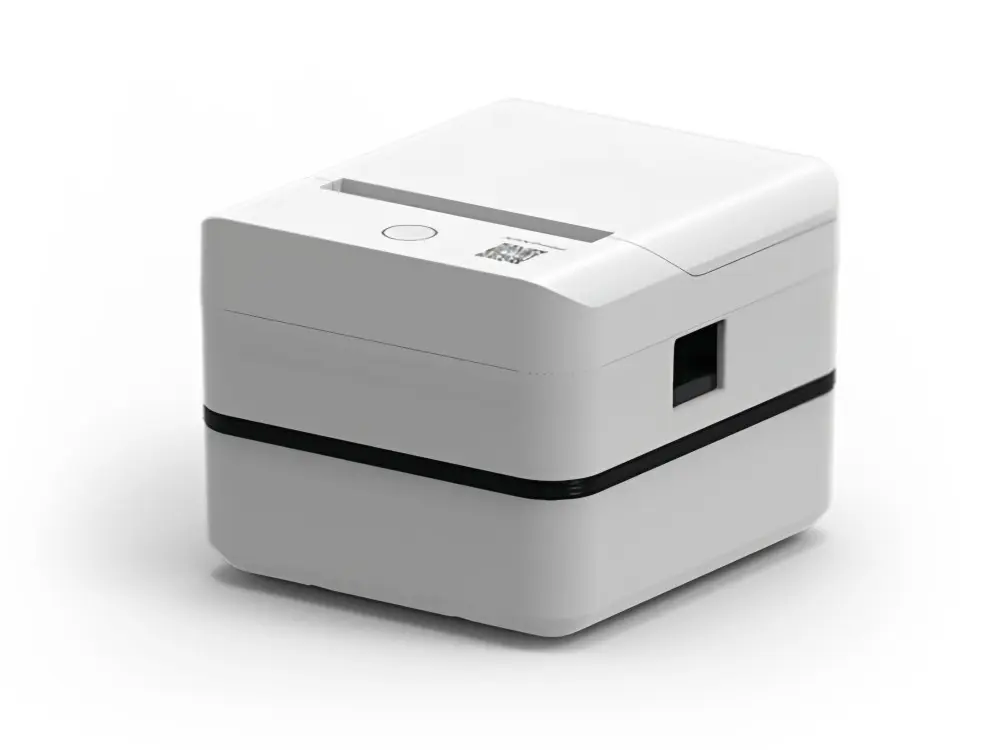 Label Printer
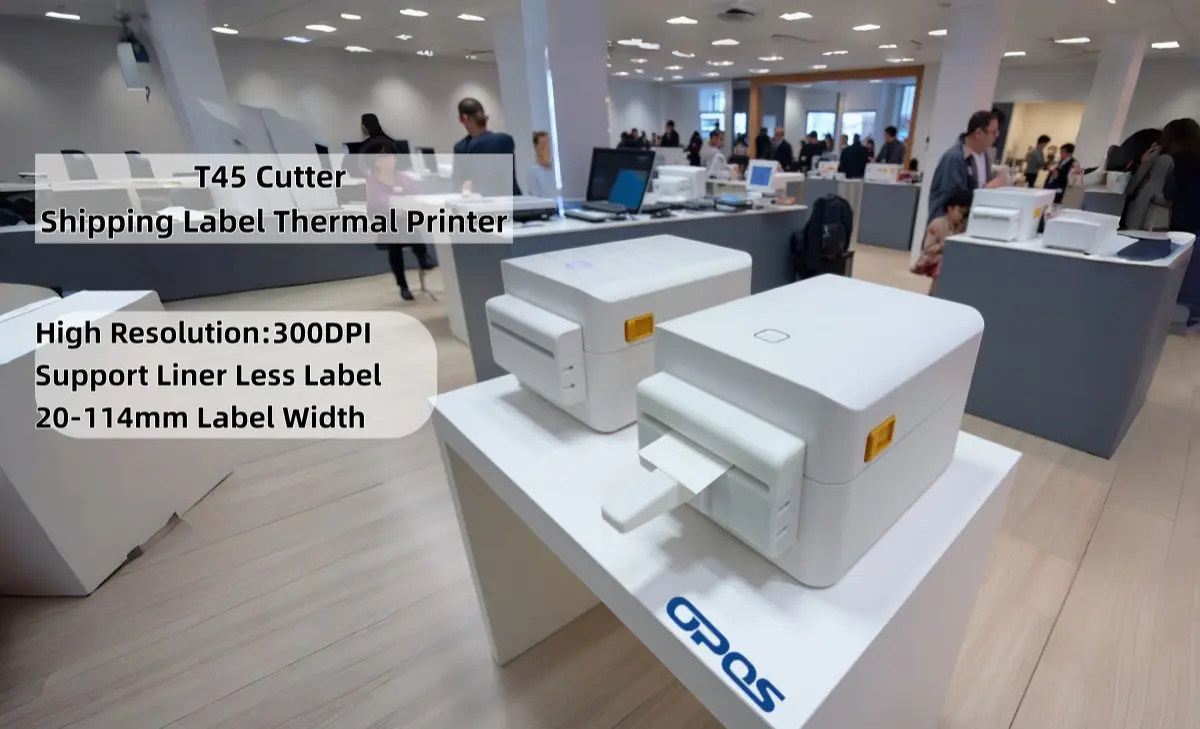
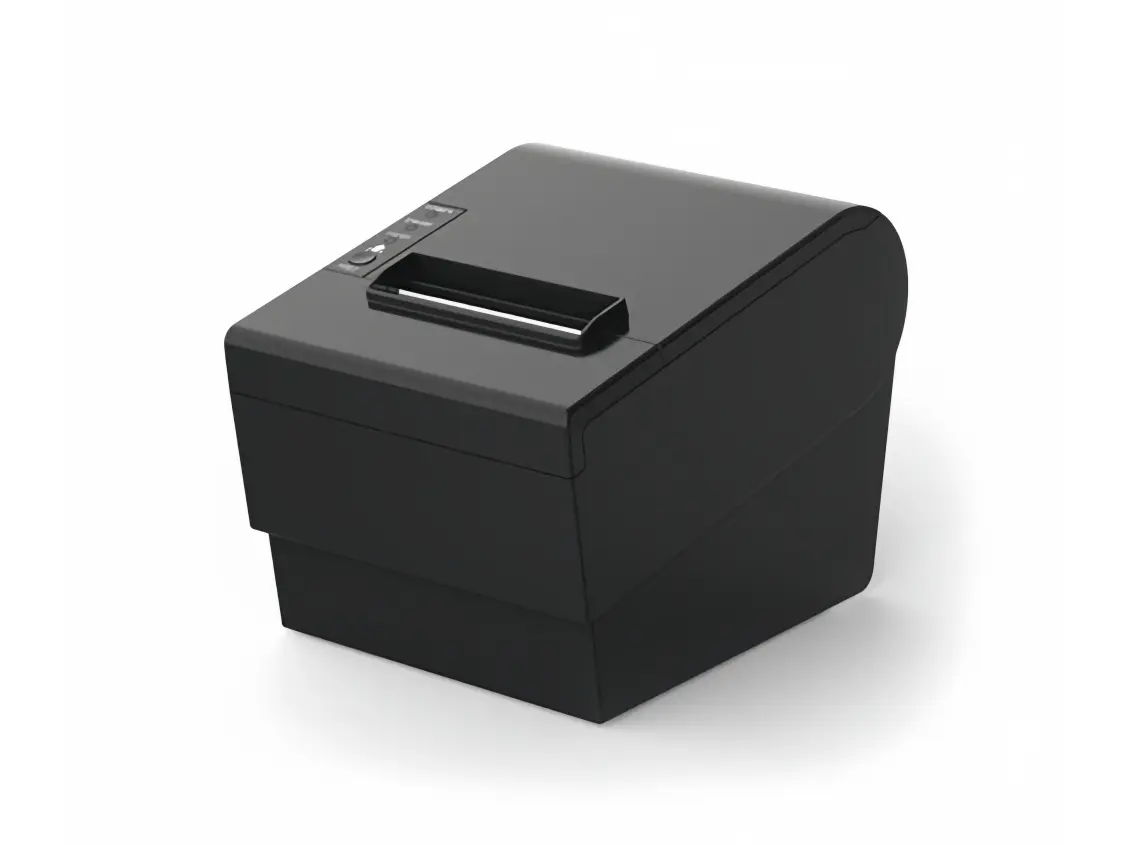 Receipt Printer
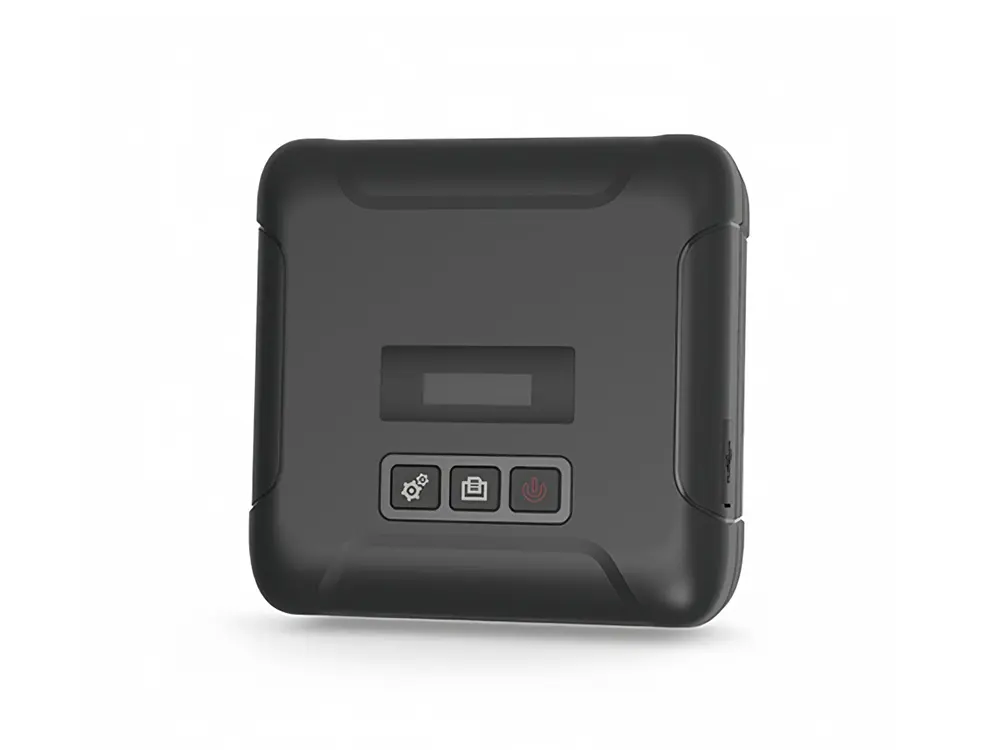 Mobile Printer


Common Thermal Printer Trouble shooting and Solutions Guide
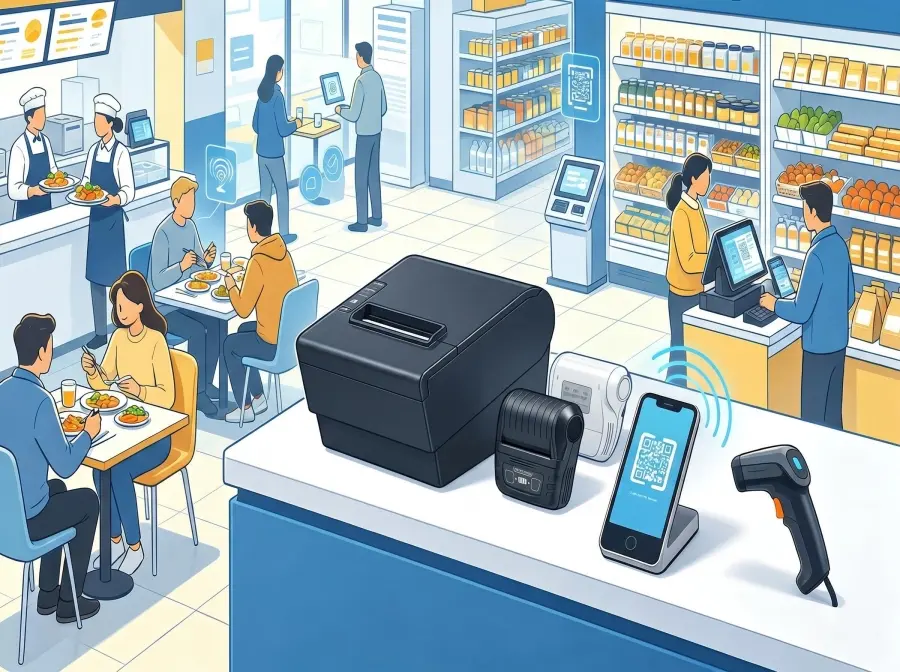
Due to compact size, high printing speed, and consumable-free operation, thermal printers have been widely adopted in various industries, including retail POS systems, logistics sorting, medical documentation, and office labeling applications.
However, with frequent daily use, unexpected issues are inevitable. Minor problems may reduce printing efficiency, while serious faults can disrupt normal business operations.
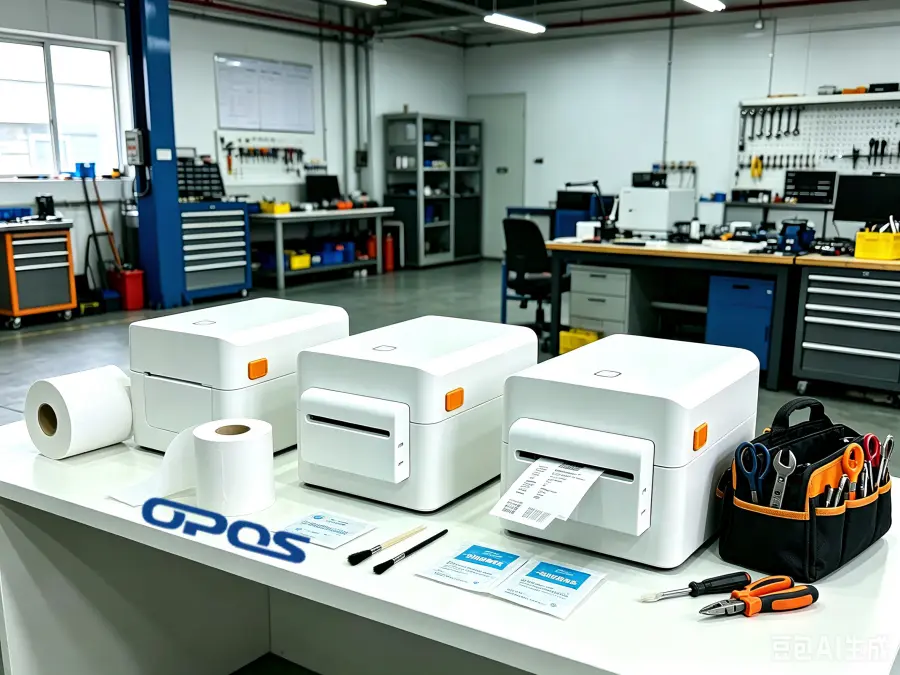
As a manufacturer of Thermal Printers and thermal Printer Mechanisms, OPOS Printer has compiled the most common thermal printer issues and provides comprehensive trouble shooting procedures—from simple self-checks to in-depth diagnostics—to help users quickly identify problems and restore normal operation.
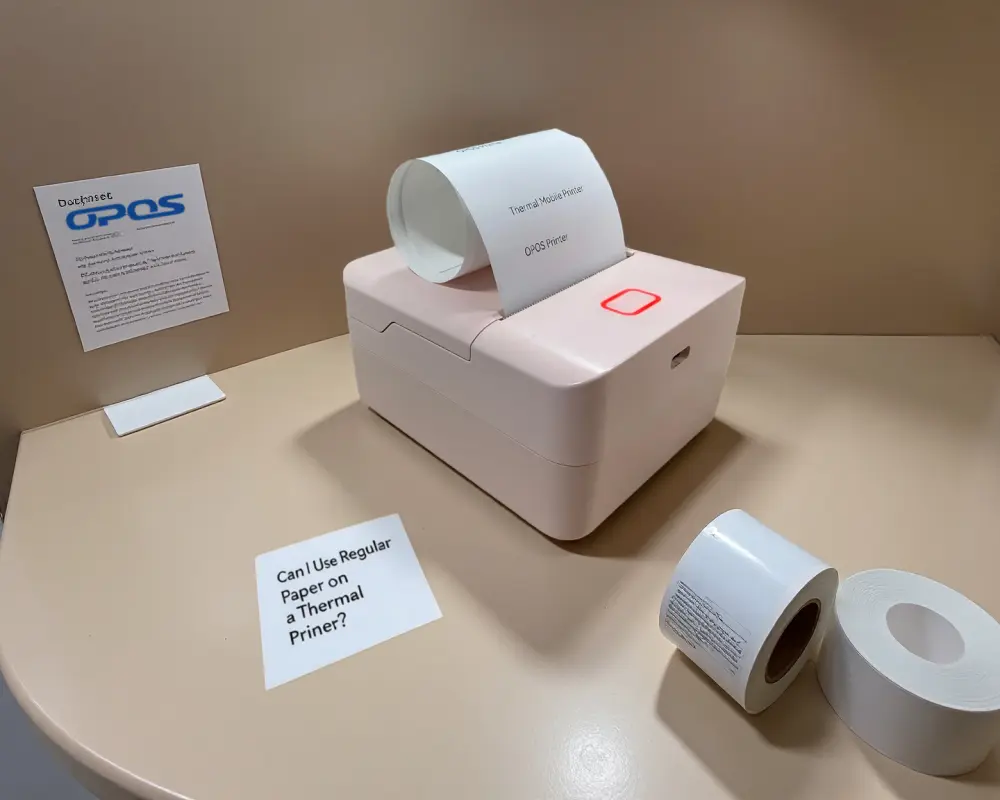
Remove the thermal paper currently in use and gently scratch its surface with your fingernail. High-quality thermal paper should produce a clear, continuous dark gray or black mark.
If the mark is faint, broken, or invisible, the paper may have expired, absorbed moisture, or simply be of poor quality. Replacing it with fresh, qualified thermal paper can resolve most basic printing issues.
Also, make sure that the coated side of the thermal paper faces the printhead. Installing the paper in reverse will prevent any image from appearing.
Turn off the printer and allow the printhead to cool completely before opening the cover.
Check whether there are paper scraps, oil stains, or dried residue on the surface of the thermal printhead.
Use a clean cotton swab moistened with more than 95% pure anhydrous alcohol and gently wipe the printhead in a single direction. Avoid repeated back-and-forth motions, as they may damage the delicate heating elements.
After cleaning, wait at least three minutes to allow the alcohol to evaporate completely before powering the printer on for testing.
Open the printer driver settings on your computer and increase the print density by one or two levels in the "Printing Preferences" menu.
At the same time, slightly reduce the printing speed to provide sufficient heating time for proper image development.
If partial missing lines still occur after adjustment, the printhead may have developed permanent burn spots due to long-term wear and should be replaced.
Open the printer cover and reinstall the thermal paper, ensuring that the coated side is in full contact with the printhead.
On some models, curled paper edges or incorrect paper positioning can prevent the heating area from touching the paper surface, resulting in entirely blank output.
Make sure the printer cover is fully closed and locked with a distinct clicking sound.
If the cover is loose or the pressure springs have aged, the printhead may not press firmly against the paper, preventing heat from being effectively transferred to the thermal coating.
Applying slight pressure to the cover during printing can help confirm whether this is the cause.
If the issue persists, check whether the printhead connection cable is loose.
Reconnect the cable and perform another test. If no improvement is observed, the printhead itself may have suffered hardware damage and require replacement.
Verify that the label size configured in the printer driver exactly matches the specifications of the labels being used.
Failure to recalibrate the printer after switching to labels of a different width is one of the most common causes of print offset problems.
Most printers support automatic calibration by pressing and holding the Feed button for approximately three seconds.
When the indicator light flashes, the printer will feed the paper automatically and detect the label gaps to complete media learning.
After calibration,positioning issues are usually resolved.
Ensure that the paper guides are properly positioned so that the label roll remains centered.
This prevents side-to-side movement during feeding and improves print accuracy.
Confirm that the power indicator is functioning normally and that the printer is using the original power adapter or one with the correct specifications.
Unstable voltage may cause communication failures on the main control board.
For USB models, reconnect the USB cable and try a different port on the computer.
For Bluetooth models, remove the existing pairing record and reconnect while keeping the mobile device within one meter of the printer.
For Wi-Fi models, ensure that both the printer and the host device are connected to the same local network, as communication across different network segments may fail.
Uninstall the current printer driver and download the latest official version from the manufacturer's website.
Outdated drivers frequently cause compatibility issues that prevent successful communication.
Turn off the printer before attempting to remove the jammed paper.
Pull the paper out slowly and evenly in the same direction as the paper path. Never forcefully pull it backward, as doing so may damage the platen roller or printhead.
Remove any remaining paper fragments or label debris from the paper path to prevent recurring jams.
If the printhead feels excessively hot, the printer may have activated its thermal protection mechanism.
Stop printing for 10 to 15 minutes and allow the printhead to cool naturally. Normal operation should resume automatically afterward.
For continuous, high-volume printing tasks, lowering the print speed can effectively reduce the likelihood of overheating and unexpected shutdowns.
Avoid using low-quality or expired thermal paper. Inferior media can accelerate printhead wear and frequently cause poor image quality.
Always use high-purity anhydrous alcohol for printhead cleaning.
Do not use medical alcohol containing water, acetone, or other corrosive cleaning agents, as they maydamage the protective coating of the printhead.
If the printer will not be used for an extended period, disconnect the power supply and store it in a dry, dust-free environment to prevent moisture-related damage and oxidation of electronic components.
Avoid applying lubricating oil to the feeding mechanism unless specifically instructed by the manufacturer.
Excess oil can contaminate the printhead and thermal paper, leading to additional printing problems.
If the printer still fails to operate normally after completing all common troubleshooting procedures, avoid disassembling the printer mechanism without professional guidance.
Instead, contact your local authorized service provider or qualified maintenance personnel for further assistance.